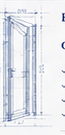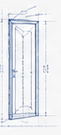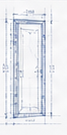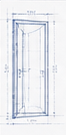
Entrance
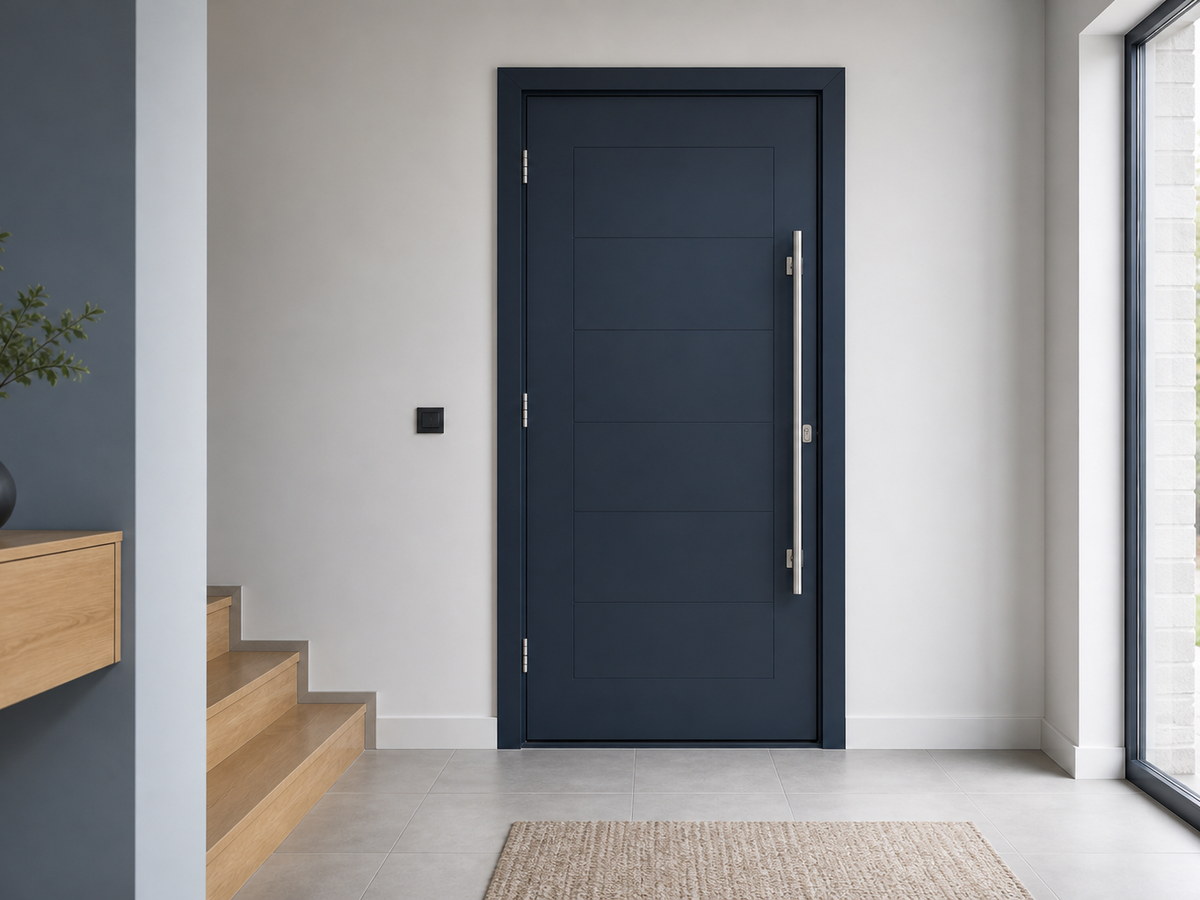
Entrance door for an apartment or house. Fitted in the external opening: frame, threshold, seals.
Baltijas Durvis
We install doors that stand the test of time.
Professional installation for any door purpose with a quality warranty. Level-true, reliable and clean.

Entrance door for an apartment or house. Fitted in the external opening: frame, threshold, seals.
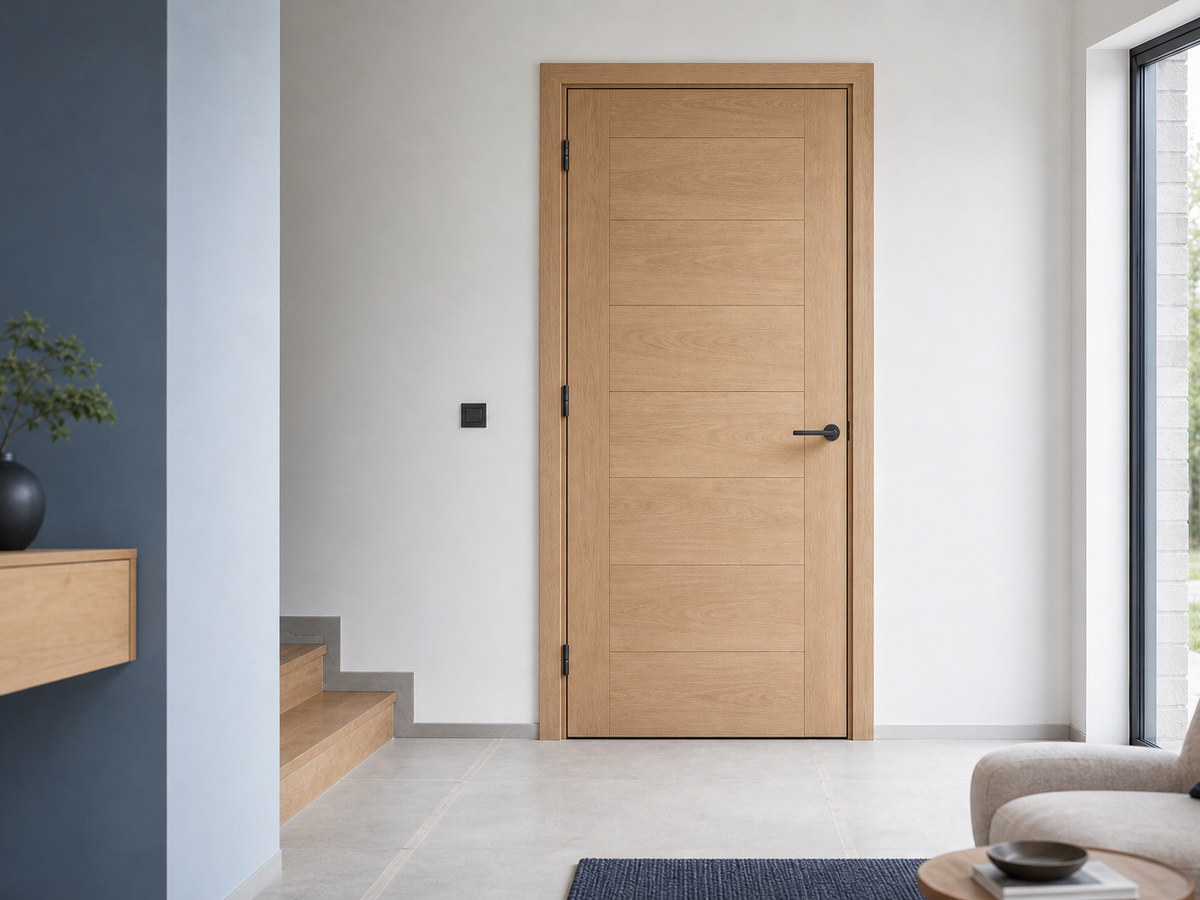
Interior door between living rooms. Installed in a finished opening with frame and architraves.
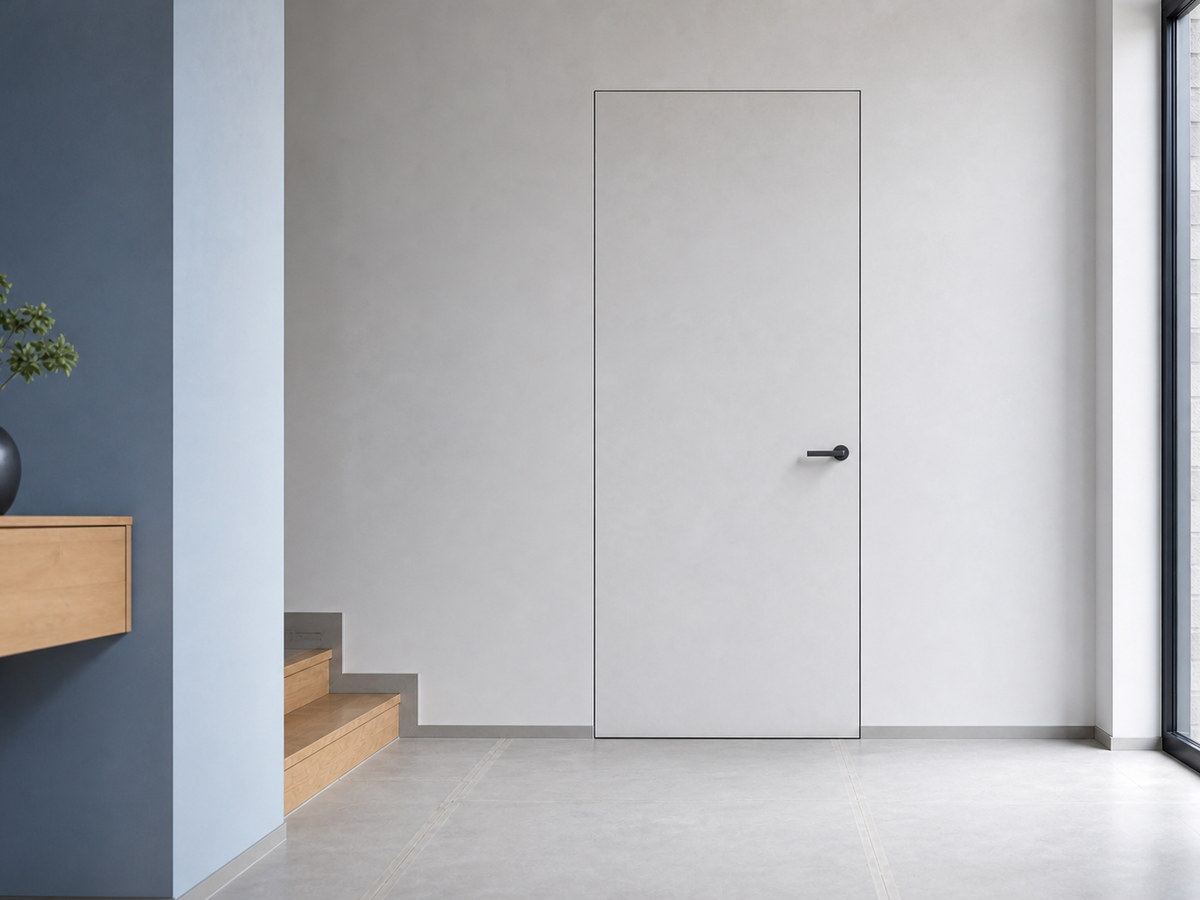
Flush hidden door with no visible frame. For hallways, walk-in closets and studies.
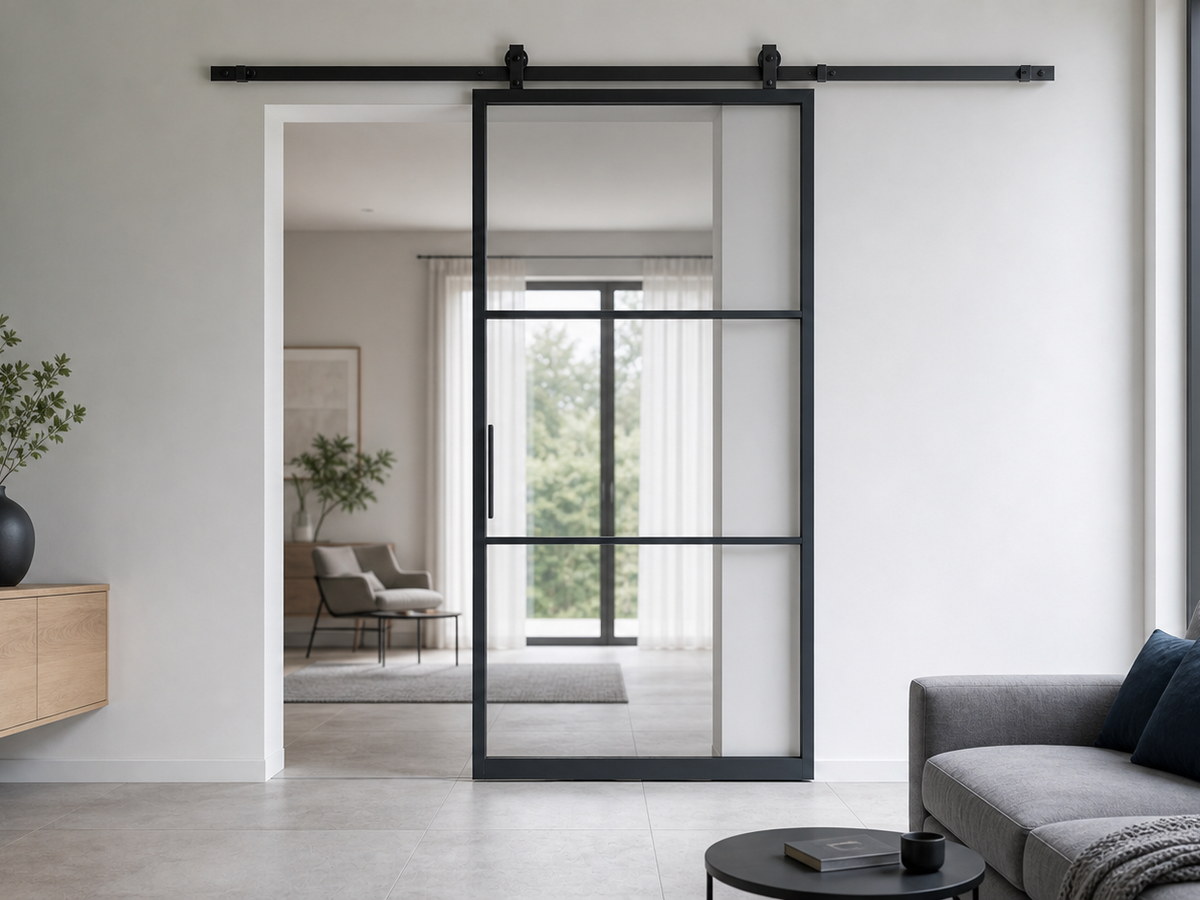
Sliding or pocket door. For kitchens, closets and narrow halls where a swing leaf will not fit.
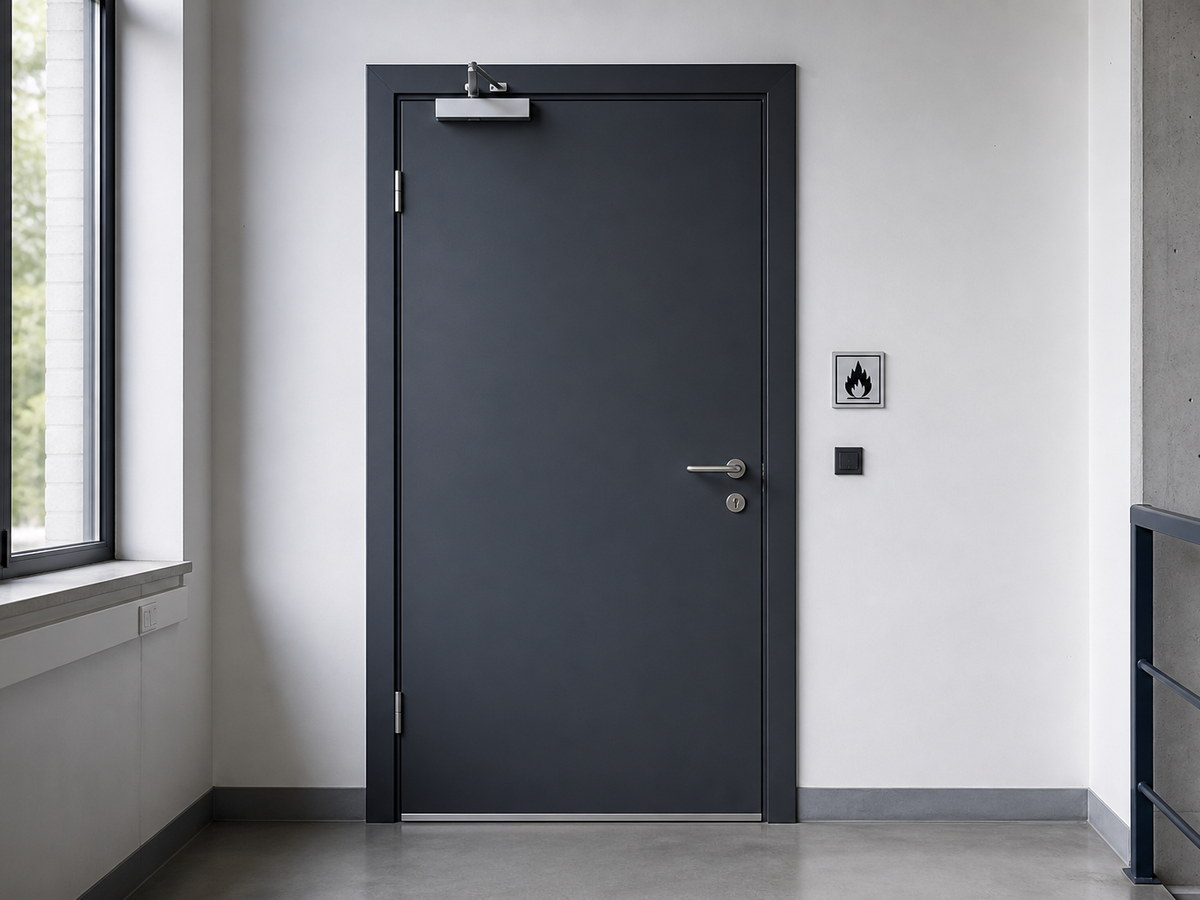
Technical or fire-rated door. Stairwells, storage, boiler rooms and escape routes — to code.
Prices are for standard installation. The final cost is calculated after a site measurement.
from 110 €
Install time: from 2 hours
from 120 €
Install time: from 1 hour
from 110 €
Install time: from 2 hours
from 120 €
Install time: from 2 hours
from 110 €
Install time: from 2 hours
The answers below describe general installation and removal principles. The manufacturer instructions for the specific door, the building design and certification requirements take priority. This especially applies to fire, smoke-control, security, glazed, automatic and heavy door sets.
Opening preparation, fixings and leveling.
The door set with its frame must fit in the opening with the installation clearance
specified by the door manufacturer and the chosen fixing system. There is no single
clearance that suits every door.
Before installation you should:
— measure the opening width and height at several points;
— check that the jamb faces are plumb;
— check that the sill and head are level;
— check opening geometry and compare the diagonals;
— confirm the substrate is strong enough to fix the door;
— remove loose plaster, old foam, nails, anchors and other fixings;
— clean dust and building debris from the surfaces;
— establish the finished floor level and threshold position.
If the opening is wider or taller than the frame, reduce it with suitable building
materials or a load-bearing substructure. Do not fill an oversized opening with foam
or weak plaster alone.
If the opening is too small, enlarge it only after checking that the work will not
damage the load-bearing structure, hidden wiring, pipes or other services. Size
tolerances depend on the specific door set.
The most common methods are:
Anchor bolts, frame anchors and frame screws — used to fix the frame to concrete,
solid or hollow brick, blocks and other substrates. Type, diameter, length and
quantity depend on the wall material, door weight and manufacturer guidance.
Self-tapping and structural screws — used for lighter constructions and timber
substrates. In solid timber the screw is usually driven directly into sound wood
without a plastic plug.
Fixing plates or lugs — used on some metal and PVC systems.
Expanding foam — fills the joint, improves thermal and acoustic performance and
helps seal the gap. Ordinary foam must not automatically be treated as the main
load-bearing fixing. Foam-only installation is allowed only when a certified system
or the manufacturer instructions explicitly permit it.
For fire, smoke-control and specialist doors use only the fixings and joint materials
specified in the product documentation. Ordinary household foam may not meet the
requirements of a specific door.
If the frame is out of square or plumb, the door may:
— close poorly;
— rub on the frame or threshold;
— swing open or shut under its own weight;
— show uneven gaps;
— overload the hinges and lock;
— perform worse for thermal, acoustic and airtight sealing.
Check the jambs for plumb in two directions. Check the head and threshold for level.
Also check squareness, diagonals, even gaps and leaf operation before final tightening
and filling the installation joint.
Frame assembly, hinges, removal and timber houses.
A frame usually has two vertical jambs and one head. If a threshold is included, a
bottom member is added.
Assembly sequence:
1. Check the frame kit and the manufacturer instructions.
2. Decide the handing and hinge side.
3. Prepare the frame joints.
4. Assemble the frame on a flat surface such as benches or a clean floor.
5. Pre-drill screw holes to reduce the risk of splitting.
6. Join the parts and check squareness by the diagonals.
7. Trial-fit the leaf and check the gaps.
Frame parts may be joined at 45°, at 90°, or with factory fixings. A 45° mitre is
therefore not mandatory for every frame.
With a 3 mm gap each side, the internal frame width may be leaf width plus 6 mm.
Leaf height plus 10–15 mm may also apply on some constructions. Do not use these
sizes without checking the instructions: they depend on the frame profile, threshold,
floor finish, ventilation gap and door type.
Mark the hinges after a trial assembly of the frame, or at another stage specified
by the manufacturer.
Typical sequence:
1. Lay the frame on a flat surface.
2. Place the leaf in the frame using packing pieces.
3. Check that the gaps are even.
4. Mark the hinge positions on the leaf and frame.
5. Recess the hinge leaves to the correct depth.
6. Pre-drill the screw holes.
7. Fix the hinges without proud or over-recessed plates.
8. Hang the leaf and check its operation.
A 2–3 mm gap between the top of the leaf and the frame is common for ordinary
interior doors, but always compare it with the manufacturer instructions.
About 200 mm from the top edge to the upper hinge and 200 mm from the bottom edge
to the lower hinge is a common layout, not a universal standard. Hinge count and
spacing depend on mass, height, material and construction. Some makers specify at
least three hinges for their wooden interior doors.
Typical installation sequence:
1. Place the frame in the opening.
2. Hold it with timber or polymer wedges.
3. Place hard packers at the future fixing points.
4. Check jamb plumb, head level, diagonals and installation gaps.
5. Drill the fixing holes.
6. Fix the frame with anchors, frame screws or the specified fasteners.
7. Do not overtighten and bow the jambs.
8. Hang the leaf and check gaps, lock and free movement.
9. Fit temporary braces if needed.
10. Fill the joint with suitable foam or the specified material.
11. After full curing, trim the excess and finish the joint.
Three holes per jamb at about 250, 1050 and 1820 mm from the top may appear on some
standard doors. It is not automatic for other heights, heavy leaves or non-standard
hinge layouts.
A 60–70 mm hole depth is only valid when it matches the chosen fastener and wall
material. The anchor must reach sound substrate, not only plaster or an empty mortar joint.
Prefer foam with low secondary expansion and low curing pressure. Follow the can
instructions for trimming and full cure times.
1. Clear the work area and protect the floor.
2. Check the frame for wiring, alarm sensors or other services.
3. Support the leaf so it cannot fall.
4. Take the leaf off the hinges. Lift-off hinges allow careful lifting with a wide
fulcrum; fixed hinges require the screws to be removed.
5. Remove architraves and extension linings.
6. Locate the frame fixings — screws, anchors, nails or plates.
7. Undo or carefully extract the fixings.
8. Cut through foam and sealant.
9. Remove the frame members from the opening one by one.
10. If the frame will not be reused, it can be cut into sections to reduce load on the wall.
11. Clean foam, sealant and fixing remains from the opening.
Do not use the wall as an uncontrolled fulcrum for a crowbar: that can damage the
opening corners and masonry.
Yes, but they depend on the type of timber building.
In traditional log or solid-beam houses you must allow for vertical wall settlement.
A casing (rough opening frame / okosyachka) may be used to create a stable opening
while letting the wall move relative to the door.
One common detail uses a groove in the opening ends and a sliding member connected
to the casing. It is not the only possible solution.
Provide the designed settlement gap above the casing and fill it with soft compressible
insulation that does not stop movement. Do not fix the door frame rigidly to settling
logs, and do not fill the settlement gap with a material that locks movement.
In timber-frame, CLT and non-settling engineered-timber systems the opening detail may
differ. Follow the house design and the structural system manufacturer guidance.
Weight, tools, installation and removal.
Metal doors can weigh from several tens to several hundred kilograms. A 60–250 kg
range is possible for some steel doors, but it is not universal and does not by itself
prove reliability.
Weight depends on:
— leaf size;
— metal thickness and construction;
— core filling;
— number of locks;
— glazing;
— fire or security specification;
— side and top panels;
— frame type.
Most heavy steel doors cannot be installed safely by one person. Decide crew size
after assessing mass, dimensions, the moving route and site conditions. Two, three or
more installers, a trolley, lifter, suction cups or other lifting gear may be required.
There is no universal safe weight for manual lifting. Physical strength does not
replace a safe lifting plan.
Typical tools include:
— a hammer drill or drill with a bit suited to the wall material;
— a screwdriver / driver;
— a level and plumb line;
— a tape measure;
— installation wedges and hard packers;
— temporary braces;
— anchors, frame screws, plates or other specified fixings;
— foam, sealant, mortar, mineral wool or another material specified by the door system;
— a knife;
— a hammer;
— a vacuum or dust extraction;
— personal protective equipment.
An angle grinder may be needed when removing an old frame or cutting metal fixings.
It is not a required tool for correctly installing a new door.
Anchors of 10–12 mm diameter, 100–150 mm length and six in number may be used in
some cases, but those sizes are not universal. Quantity, diameter, length and embedment
follow the door manufacturer instructions and the substrate.
Foam quantity also depends on joint size. Two or three cans may be needed for a large
joint, but that is not a consumption rule for every door. For fire doors the joint
materials must match the product documentation.
1. Remove the old door and prepare the opening.
2. Check sizes, wall strength, floor level and threshold condition.
3. Confirm handing and the door kit.
4. Set the frame on hard packers in the opening.
5. Plumb the jambs in two directions.
6. Level the threshold and frame head.
7. Check squareness and diagonals.
8. Temporarily wedge the frame.
9. Fix through the factory holes, plates or lugs.
10. Do not tighten until the profile deforms.
11. Hang or fit the leaf as specified by the manufacturer.
12. Check even gaps and the operation of hinges, locks and seals.
13. Complete final fixing and adjustment.
14. Fill and seal the joint with the specified materials.
15. Protect the joint from moisture, UV and mechanical damage with finishes.
A 40–50 mm gap between opening and outer frame size may appear in some schemes, but
it is not a general rule. Use the clearance stated by the manufacturer.
For fire, smoke-control and security doors do not arbitrarily change fixing counts,
substitute fasteners or use unspecified joint materials.
Before removal, identify the hinge type, leaf mass and a safe support method.
Lift-off hinges
Open the door to an angle that lets the leaf clear the wall or frame — often 45–90°,
but the exact position depends on the design. Lift the leaf with a suitable tool or
lifter after securing it.
Pin hinges
Support the leaf, then remove the retainer or pin as the hinge design requires.
Concealed hinges
Remove cover caps and loosen the manufacturer-specified fixings. Simply undoing every
visible screw can drop a heavy leaf, so follow the hinge instructions.
Welded hinges
A welded hinge does not always need cutting: some designs have a removable pin. Use
an angle grinder only for actual scrap removal or when no other method exists.
If joints are seized, use a penetrating oil in advance, in a ventilated area away from
ignition sources. Do not spray a flammable aerosol immediately before cutting metal
with an angle grinder.
1. Isolate power to locks, door entry, alarms and other built-in automation.
2. Remove and safely store the leaf.
3. Remove architraves and decorative covers.
4. Carefully clear plaster at fixing points to expose anchors or lugs.
5. Undo accessible anchor bolts.
6. If fixings will not undo, cut them with a suitable tool.
7. Cut through foam, sealant and other joint materials.
8. Lift the frame out whole or cut it into sections first.
9. Clean the opening without damaging the masonry or load-bearing wall.
Angle grinders throw sparks. Ordinary foam, plastic film, aerosol cans, timber, dust
and other combustibles must be cleared from the spark zone.
Wetting the area is not a primary fire-safety measure. Water does not replace removing
combustibles and can be hazardous near live power tools.
You should:
— fit the tool guard;
— use a sound disc suited to the job;
— cover surfaces with a non-combustible screen or fire blanket;
— keep a suitable extinguisher ready;
— ventilate the area;
— check for smouldering and hidden heat after finishing.
The main goal is to remove the frame without destroying masonry, opening corners or
hidden services.
Tools and installation foam.
Usually required:
— a level;
— a plumb line;
— a tape measure;
— a square;
— a hammer drill or drill;
— a screwdriver / driver;
— gun foam;
— wedges;
— hard load-bearing packers;
— temporary braces;
— frame screws, anchors or fixing plates;
— sealant;
— a knife;
— a hammer;
— masking tape;
— safety glasses;
— gloves;
— hearing and respiratory protection when drilling.
Choose fixings from the profile design, wall material and manufacturer instructions.
Modern PVC systems may specify certified frame fixings and different methods for
different substrates.
Choose foam made for windows and doors, with controlled or low secondary expansion
and low curing pressure. That reduces the risk of deforming the profile.
Consider:
— working temperature;
— can temperature;
— allowed joint width;
— secondary expansion;
— curing pressure;
— material compatibility;
— skinning time;
— trimming time;
— full cure time;
— ventilation and fire-safety requirements.
Winter grades exist for cold periods, but only within the manufacturer temperature range.
About one can per door is only a rough estimate. Actual use depends on joint width
and depth, door size, dosing method and the expansion of the chosen product.
Do not pick a brand for the “professional” label alone — choose a product with suitable
technical data and clear documentation.
Modern equipment for precise installation
We protect interiors and clean up after work
Cost without hidden extras
Transparent terms and accountability
We provide a warranty on installation works
2 years