
Practical guide
Windows in Latvia’s standard apartment buildings
Dimensions, building specifics and practical advice
Replacing apartment windows affects comfort, safety, energy efficiency and the appearance of the building. Each building series has its own opening sizes, sill height, reveal depth and wall construction.
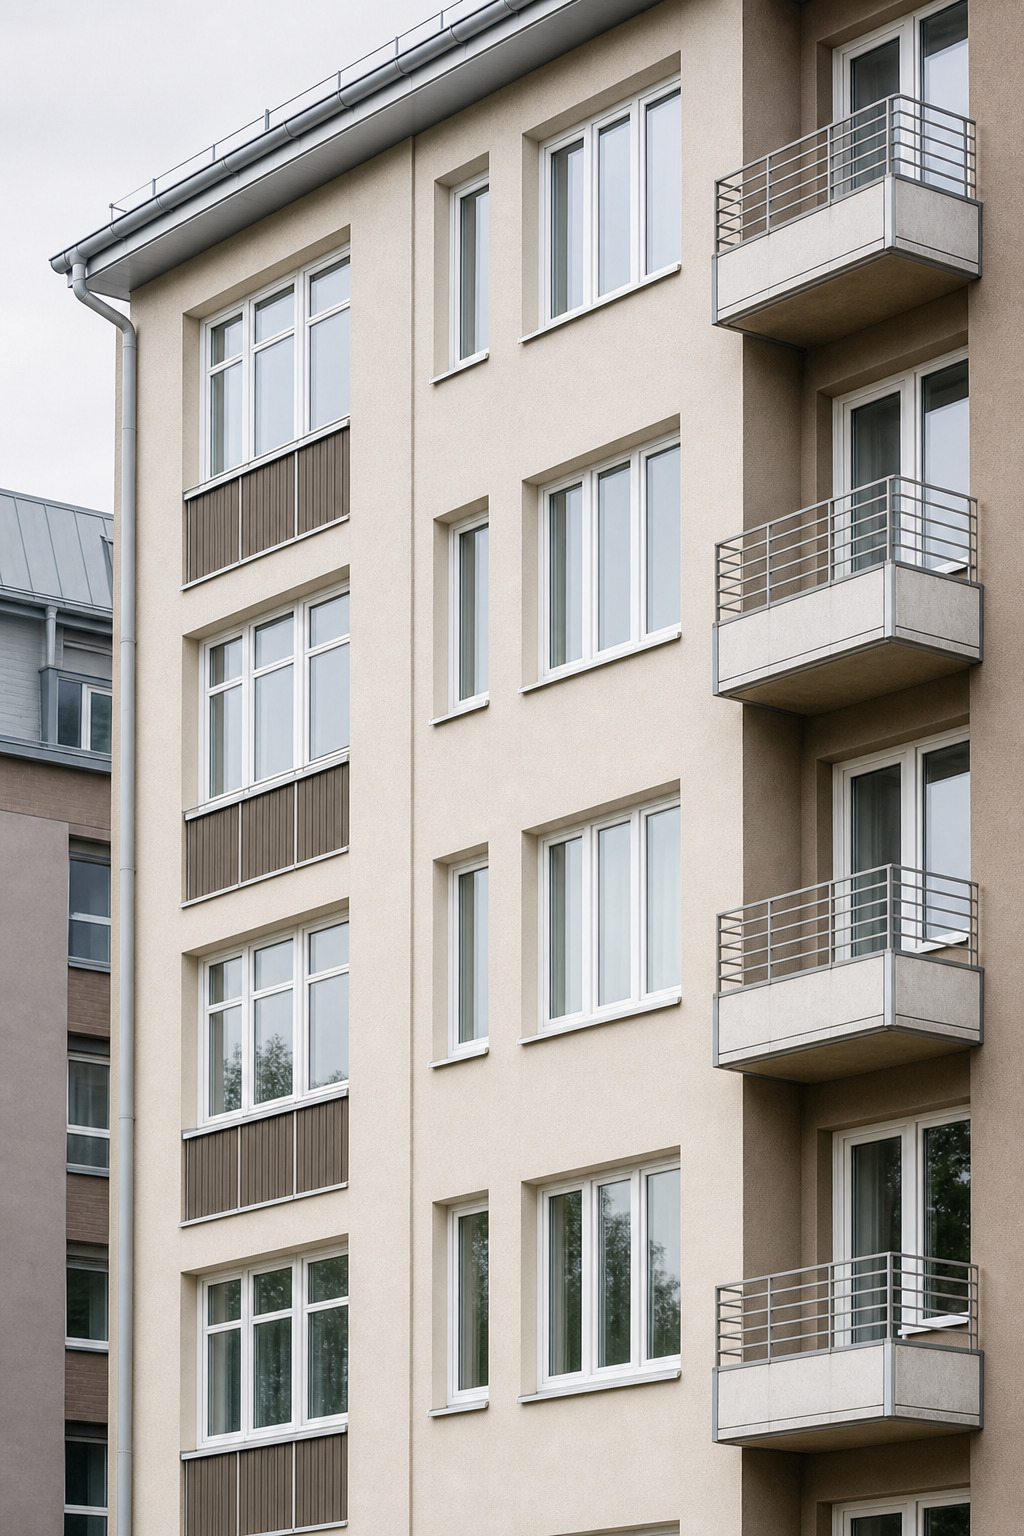
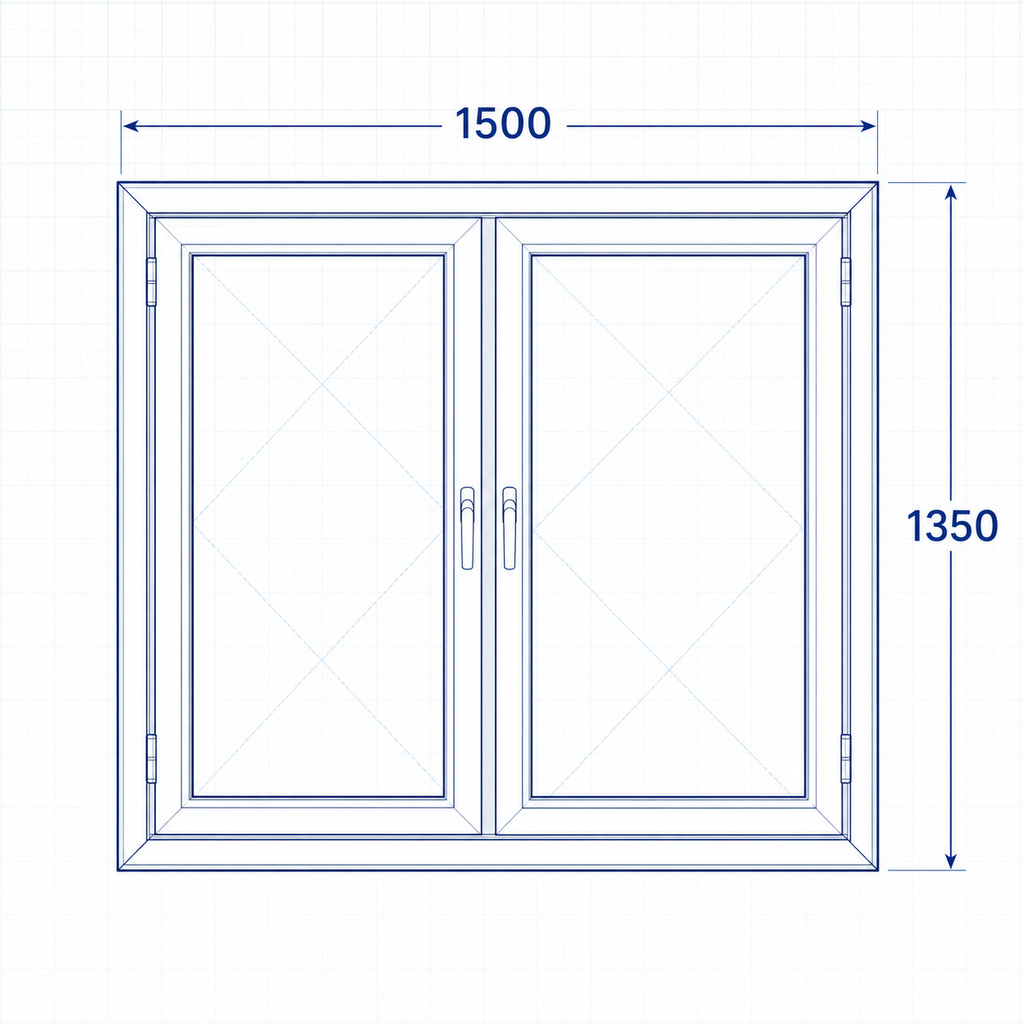
Important: there is no truly standard window
- Opening sizes vary even within the same building series.
- Buildings settle over time and their geometry can change.
- Only an on-site survey ensures correct production and installation.
Panel buildings
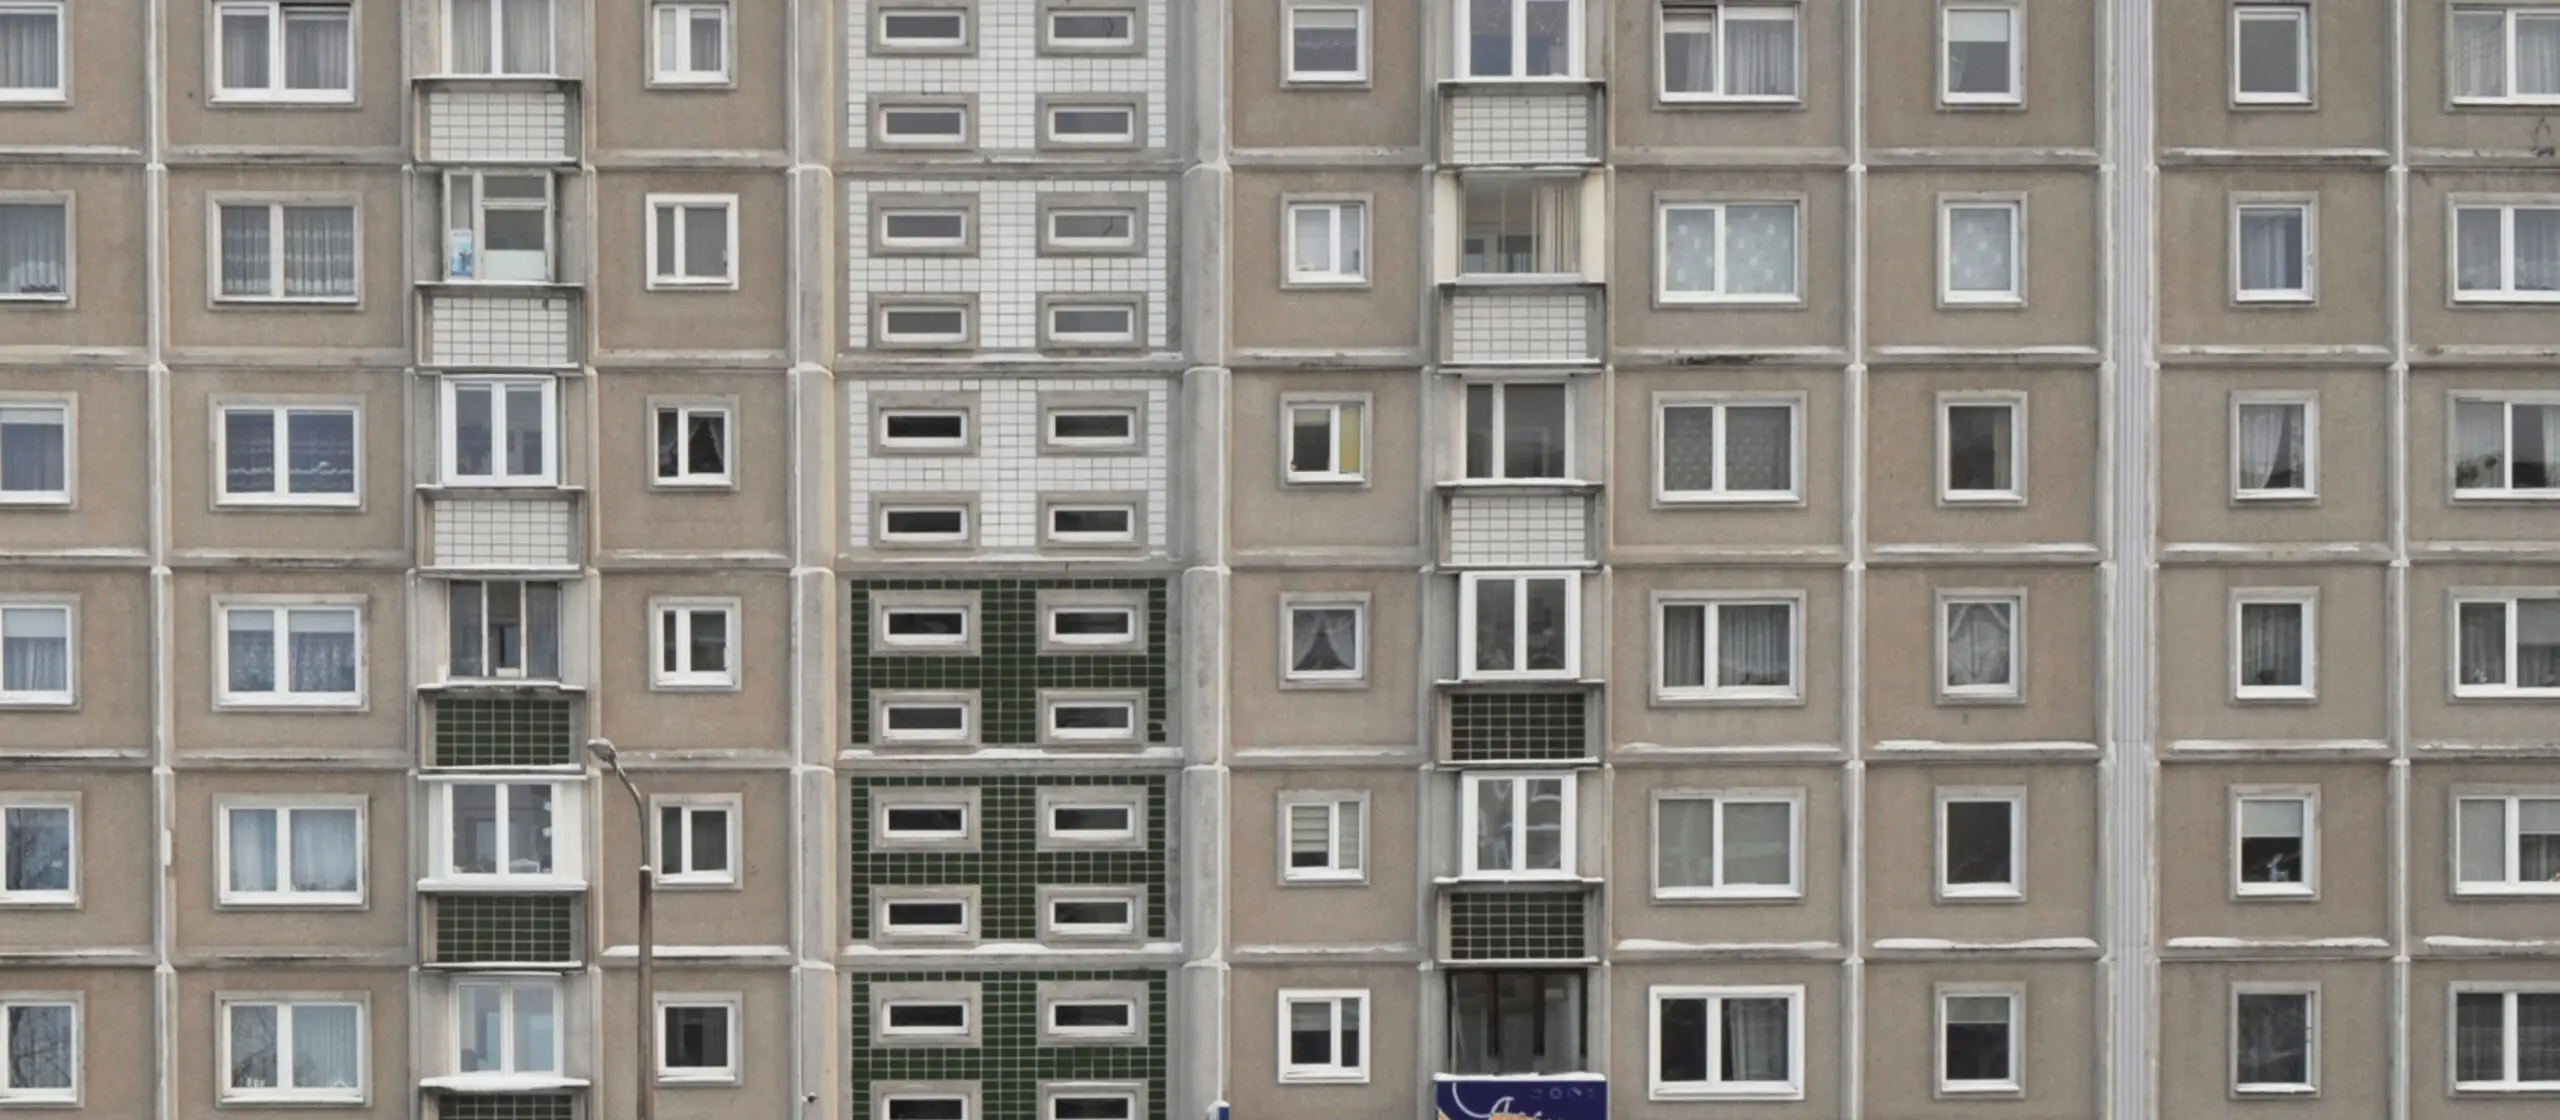
Thin walls and exterior joints require effective insulation and correct fixing.
High thermal performance and airtightness are essential for comfort.Brick buildings

Thick walls and deep reveals allow wider sills and robust fixings.
The openings are stable, but the installation joint still needs careful sealing.Approximate data
Windows for standard building series
Quick reference
Comparison of standard projects
| Series | Wall material | Approximate size (W×H) | Key feature |
|---|---|---|---|
| Khrushchev-era project — brick | Brick | 1300 × 1400 mm | High window sill |
| Khrushchev-era project — panel | Panel | 1430 × 1420 mm | Low window sill |
| Lithuanian project — new | Panel | 1730 × 1420 mm | Large glazed area |
| Lithuanian project — old | Panel | 1730 × 1420 mm | Smaller glazed area |
| Czech project | Panel | 1500 × 1420 mm | Typical balcony block |
| Small-family project | Panel | 1160 × 1420 mm | Narrow window, low sill |
| 119 series | Panel | 1765 × 1420 mm | Wide opening and loggia |
| 467 series | Panel | 2050 × 1420 mm | Very wide opening |
| 602 series | Panel | 1600 × 1500 mm | Increased window height |
| 103 series | Panel | 2100 × 1420 mm | Wide three-section window |
| 104 series | Panel | 2400 × 1500 mm | Maximum opening width |
French-design buildings: monolithic reinforced-concrete walls; opening sizes are individual, so an on-site survey is required before ordering.
Thermal and acoustic insulation
Choosing a profile and glazing unit
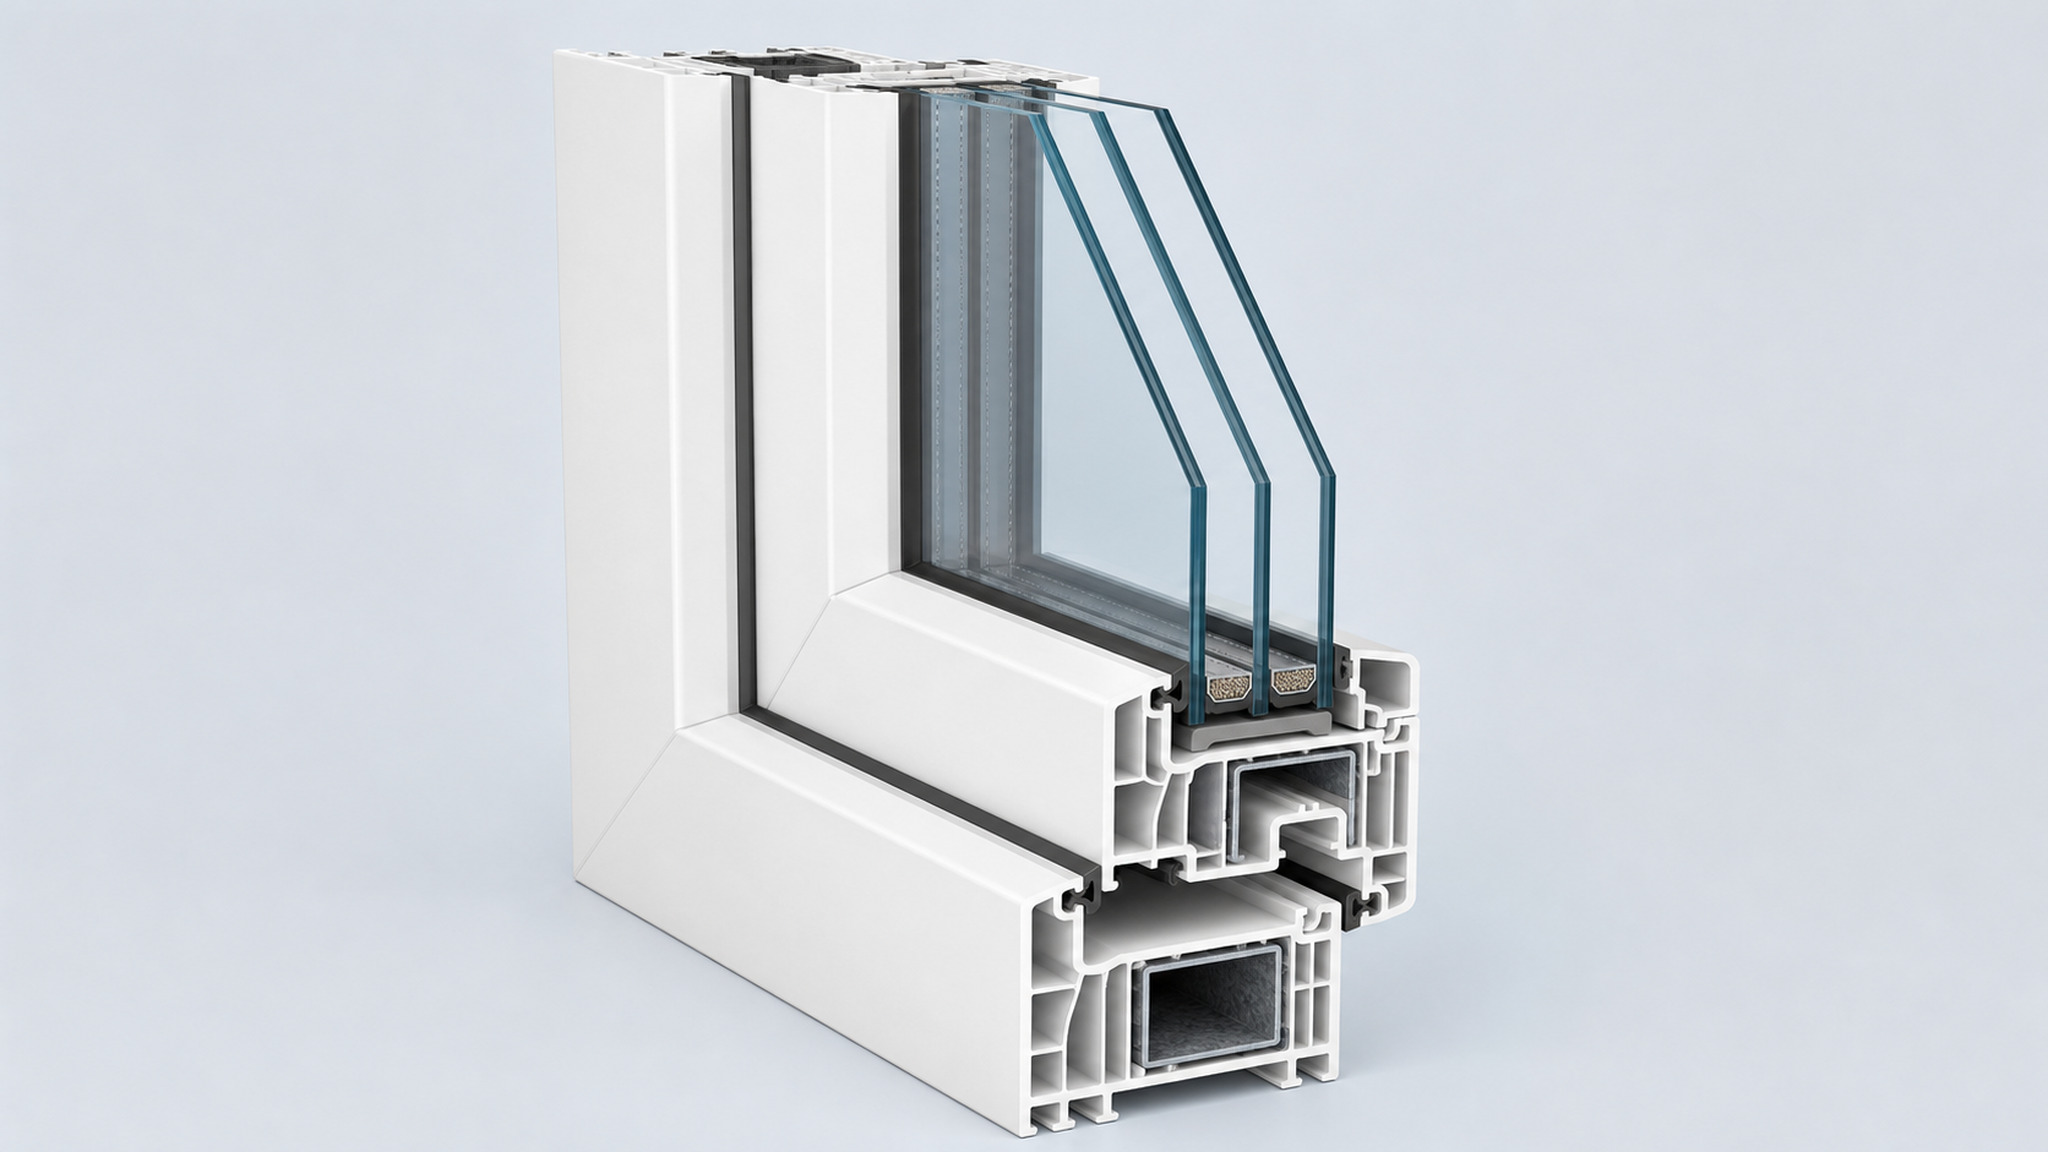
For panel buildings
70 mm profile
Double-chamber glazing
Energy efficiency and reliable airtightness.
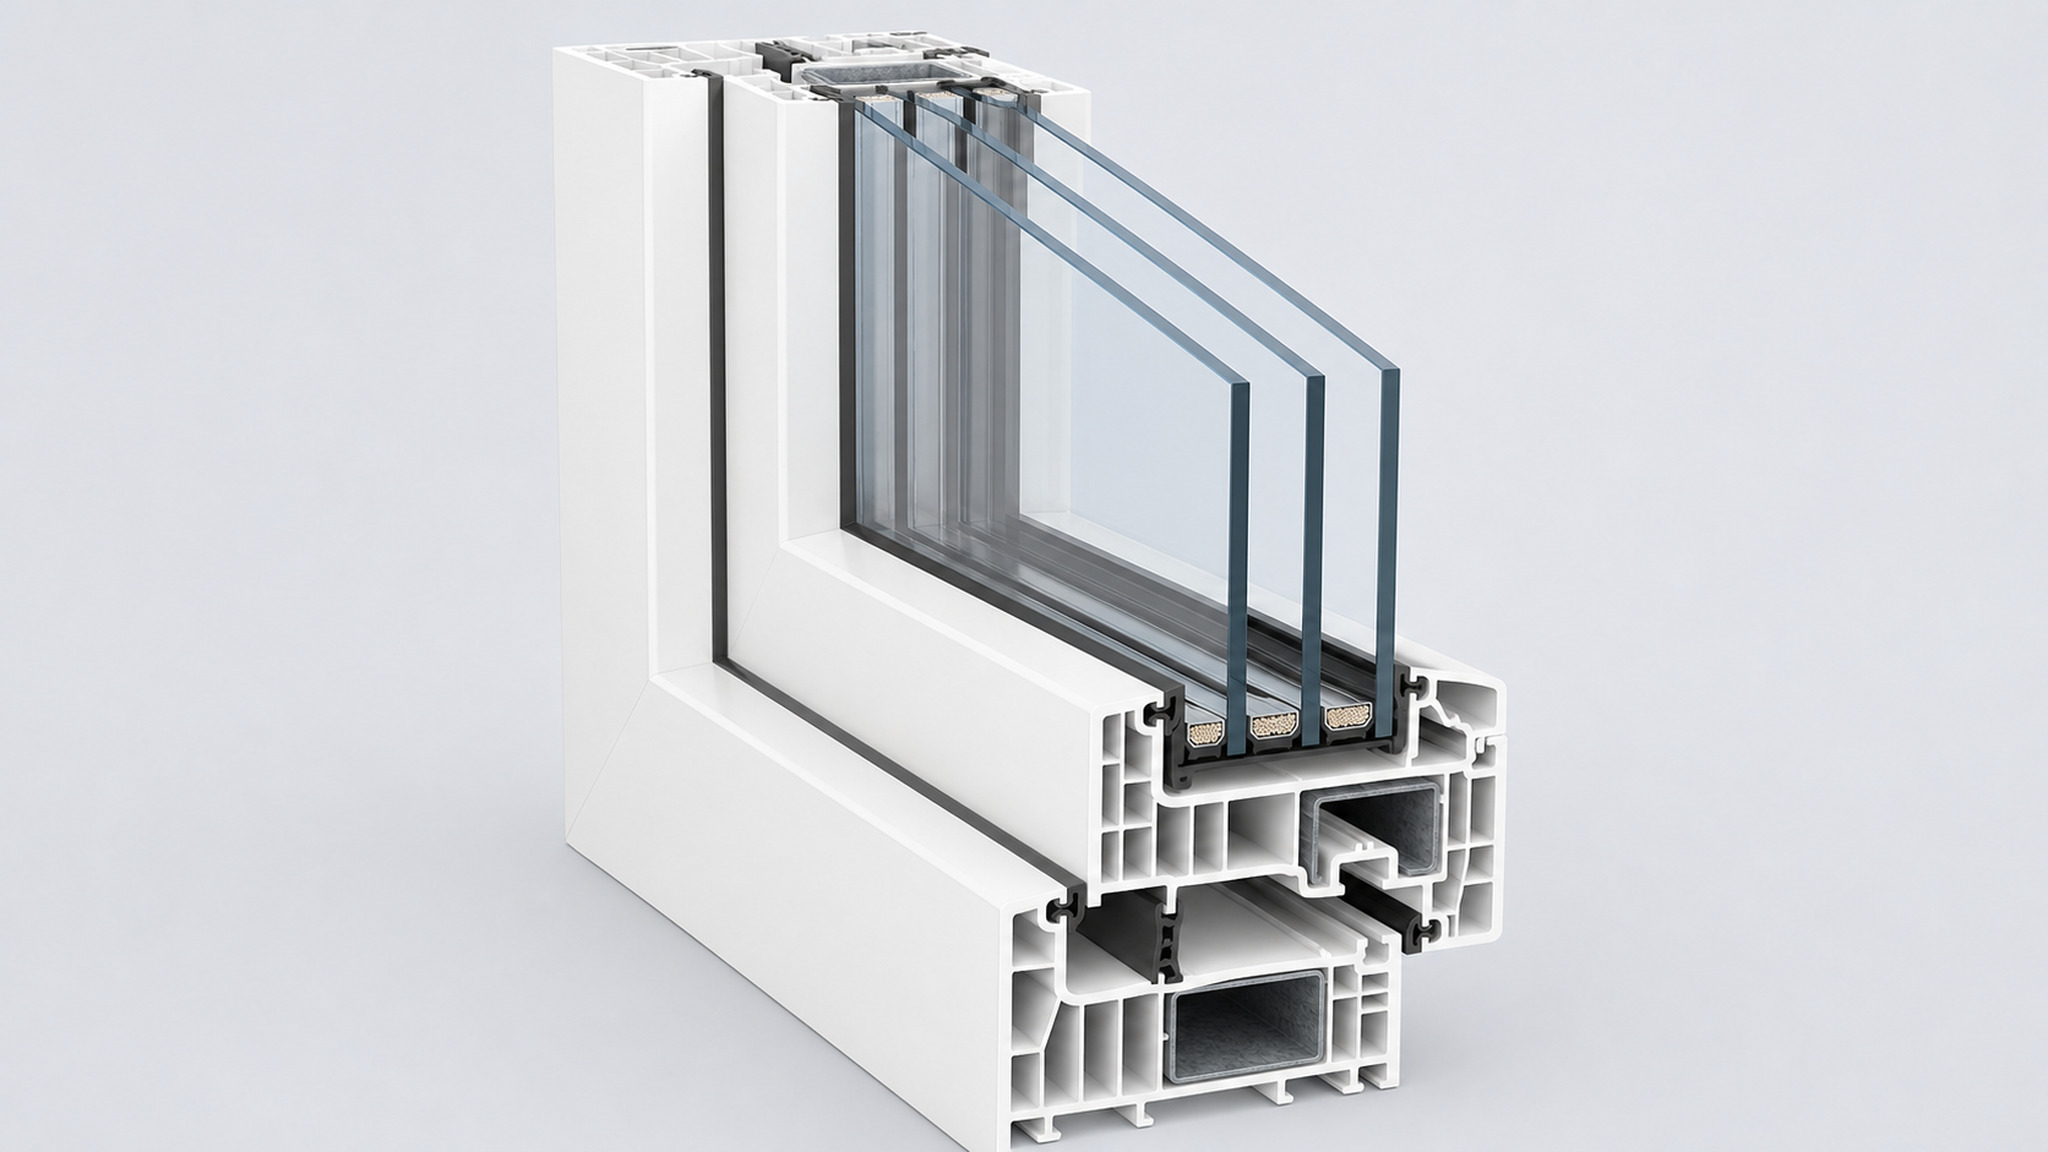
For brick buildings
76 mm profile
Triple-chamber glazing
Maximum thermal and acoustic insulation.
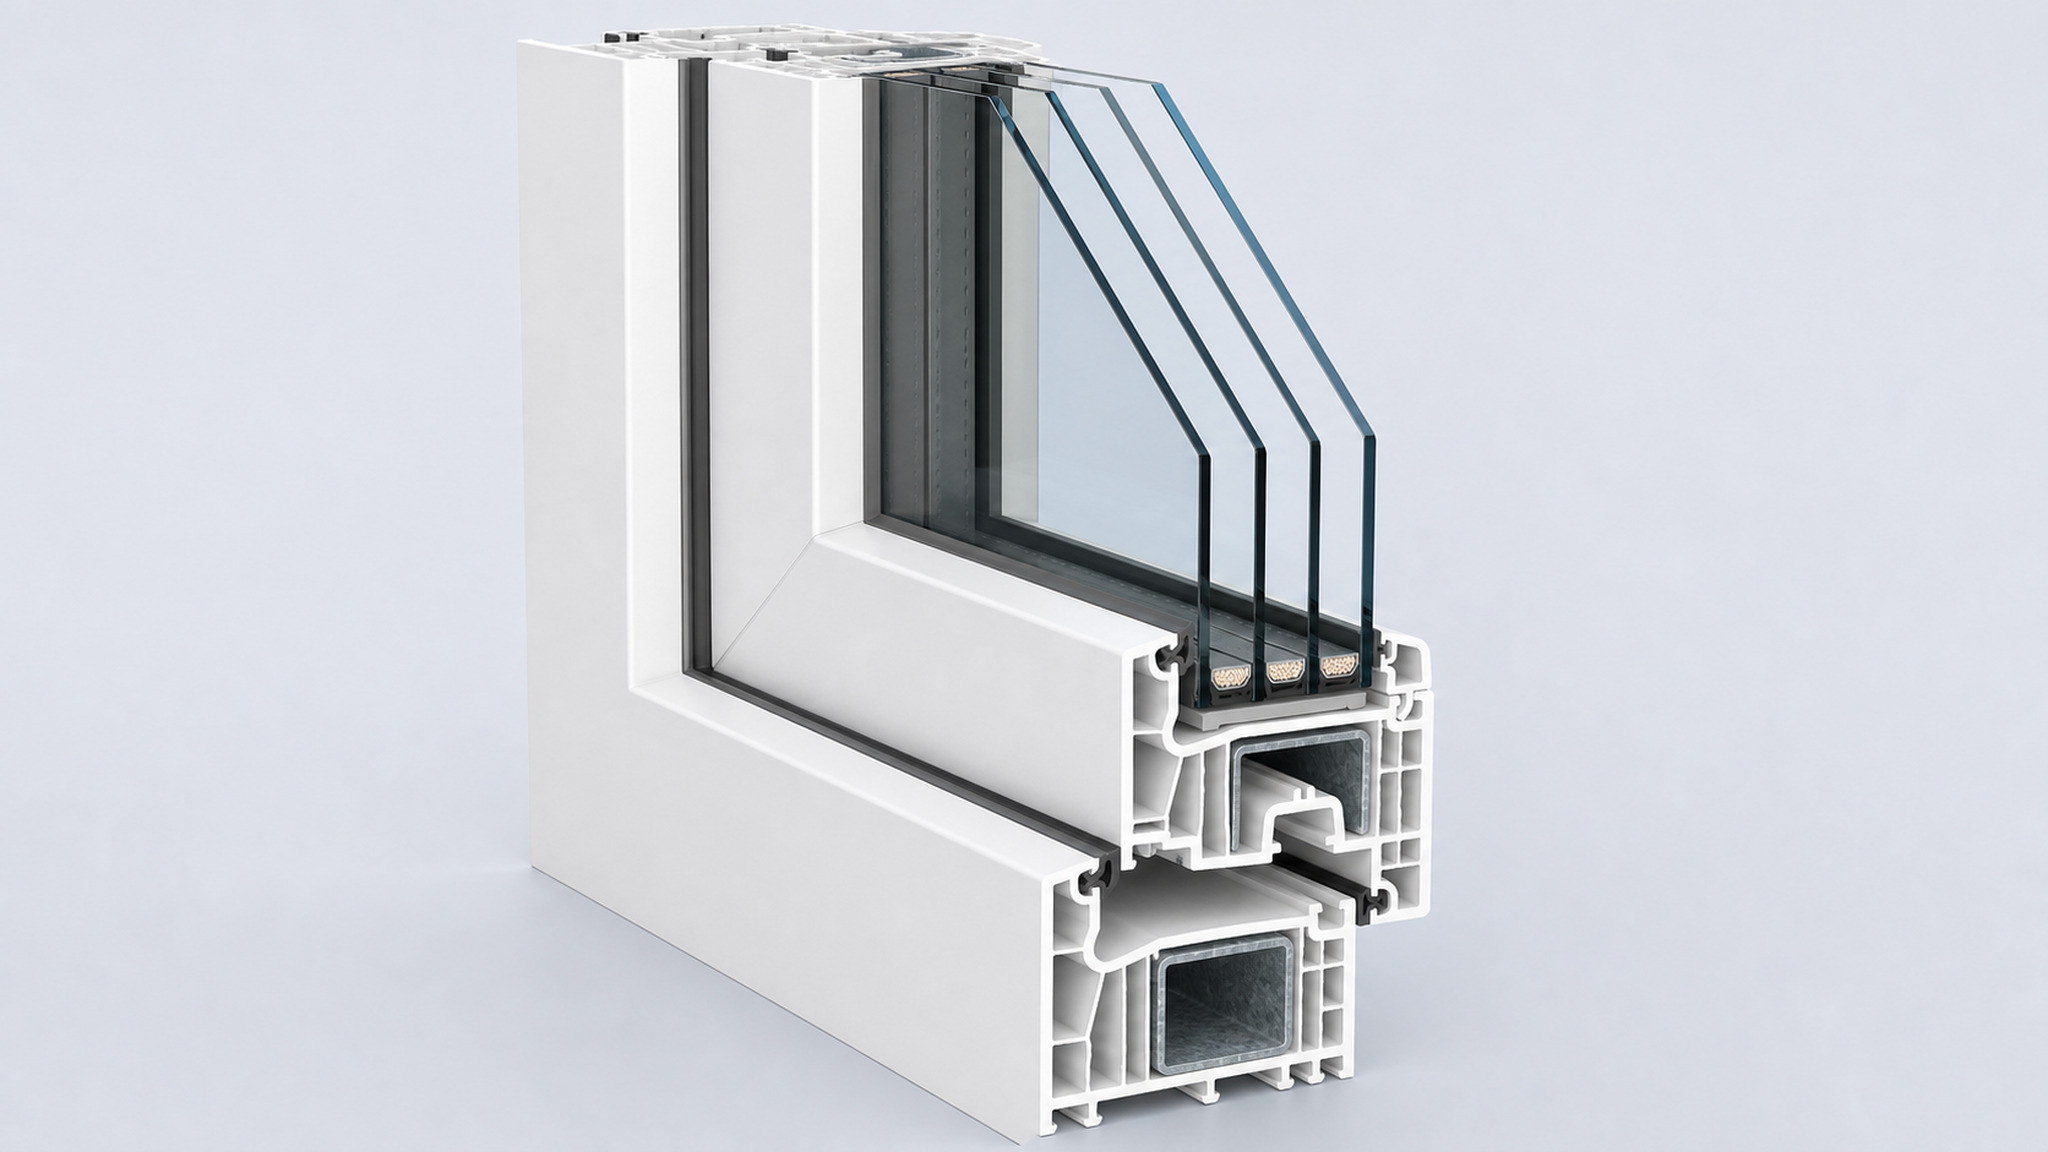
For loggias and large openings
80 mm profile
Triple-chamber glazing
Resistance to wind loads.
Specification
What to consider when ordering
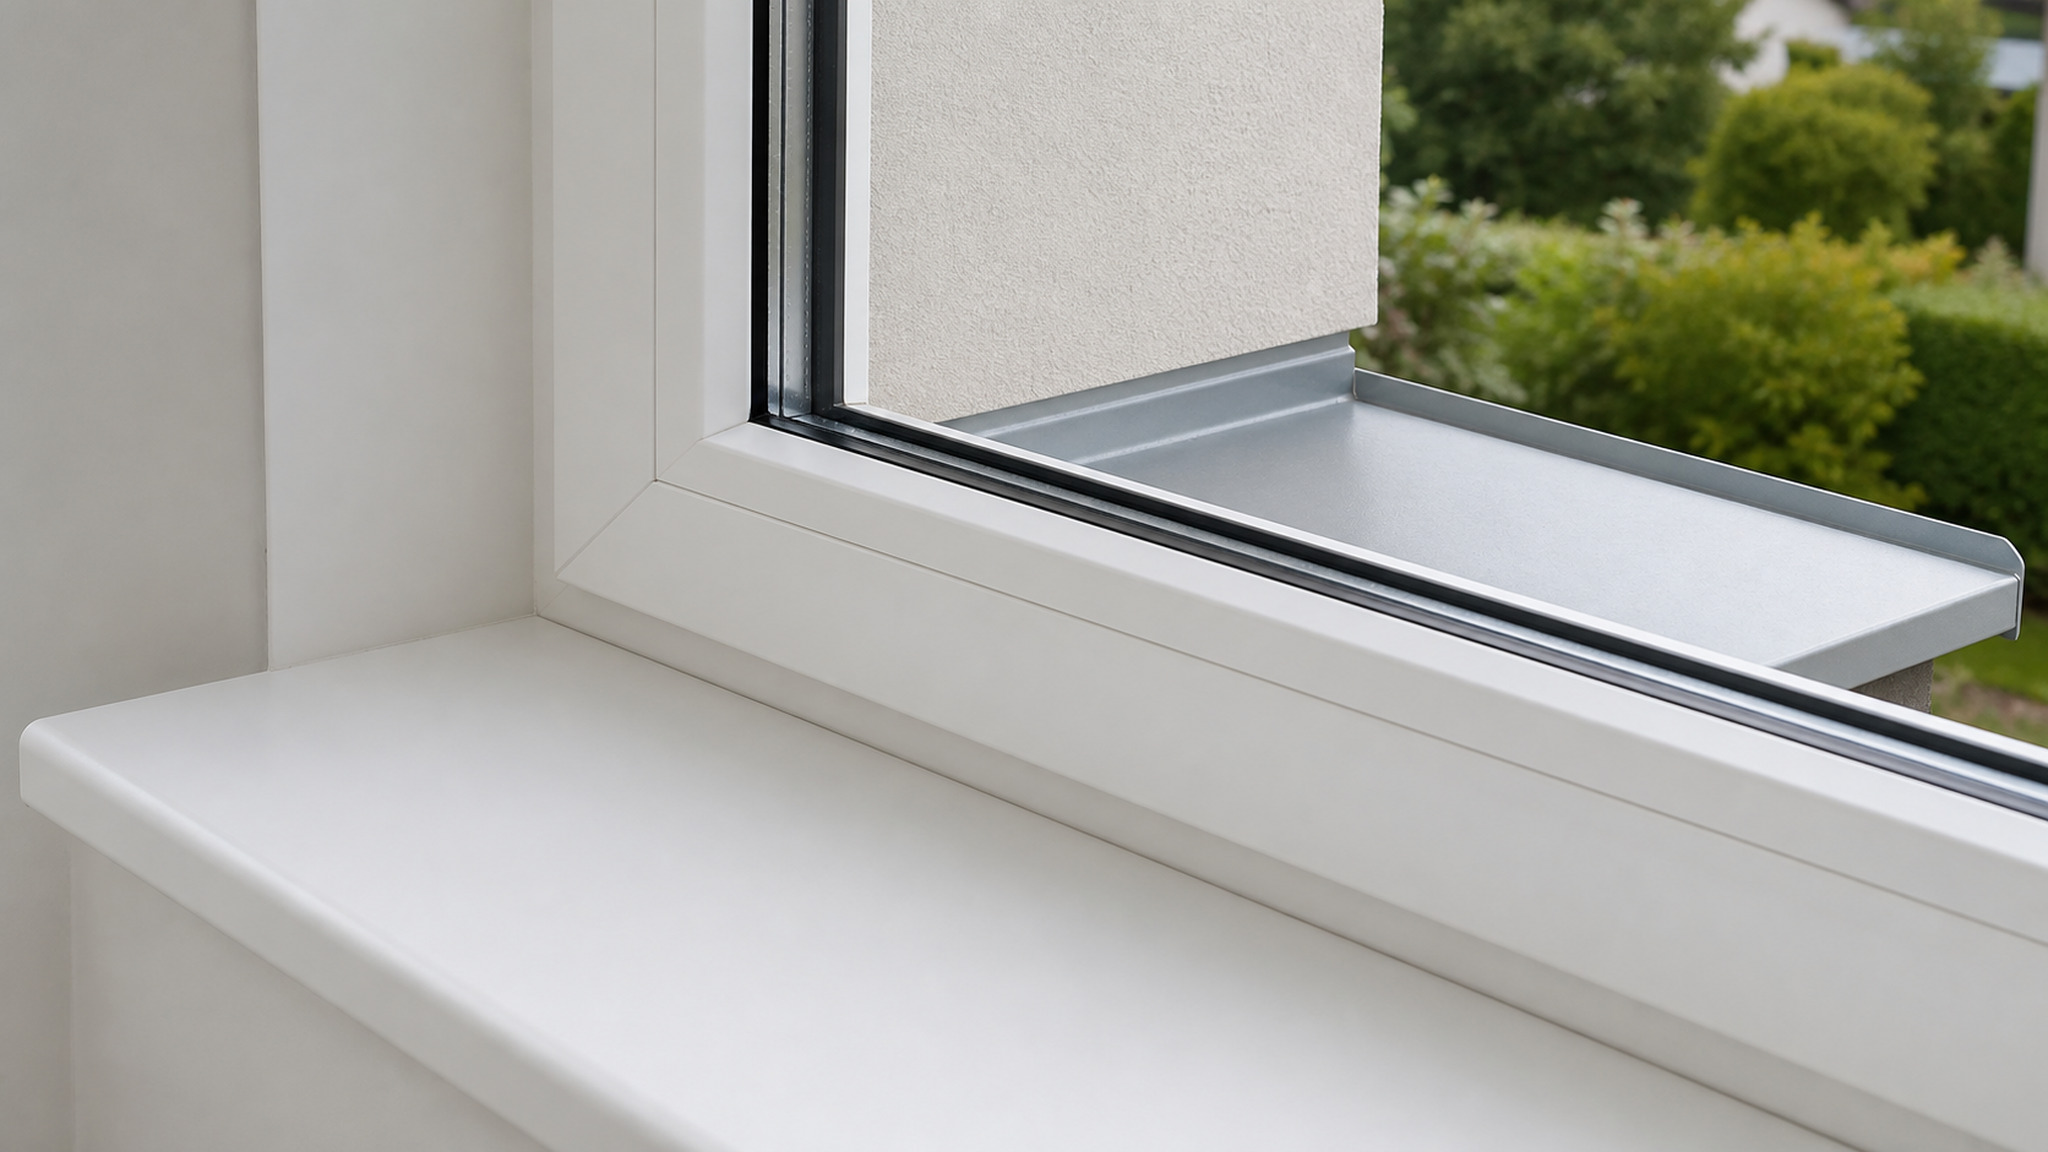
Window sills and exterior flashings
Quality materials protect against moisture.
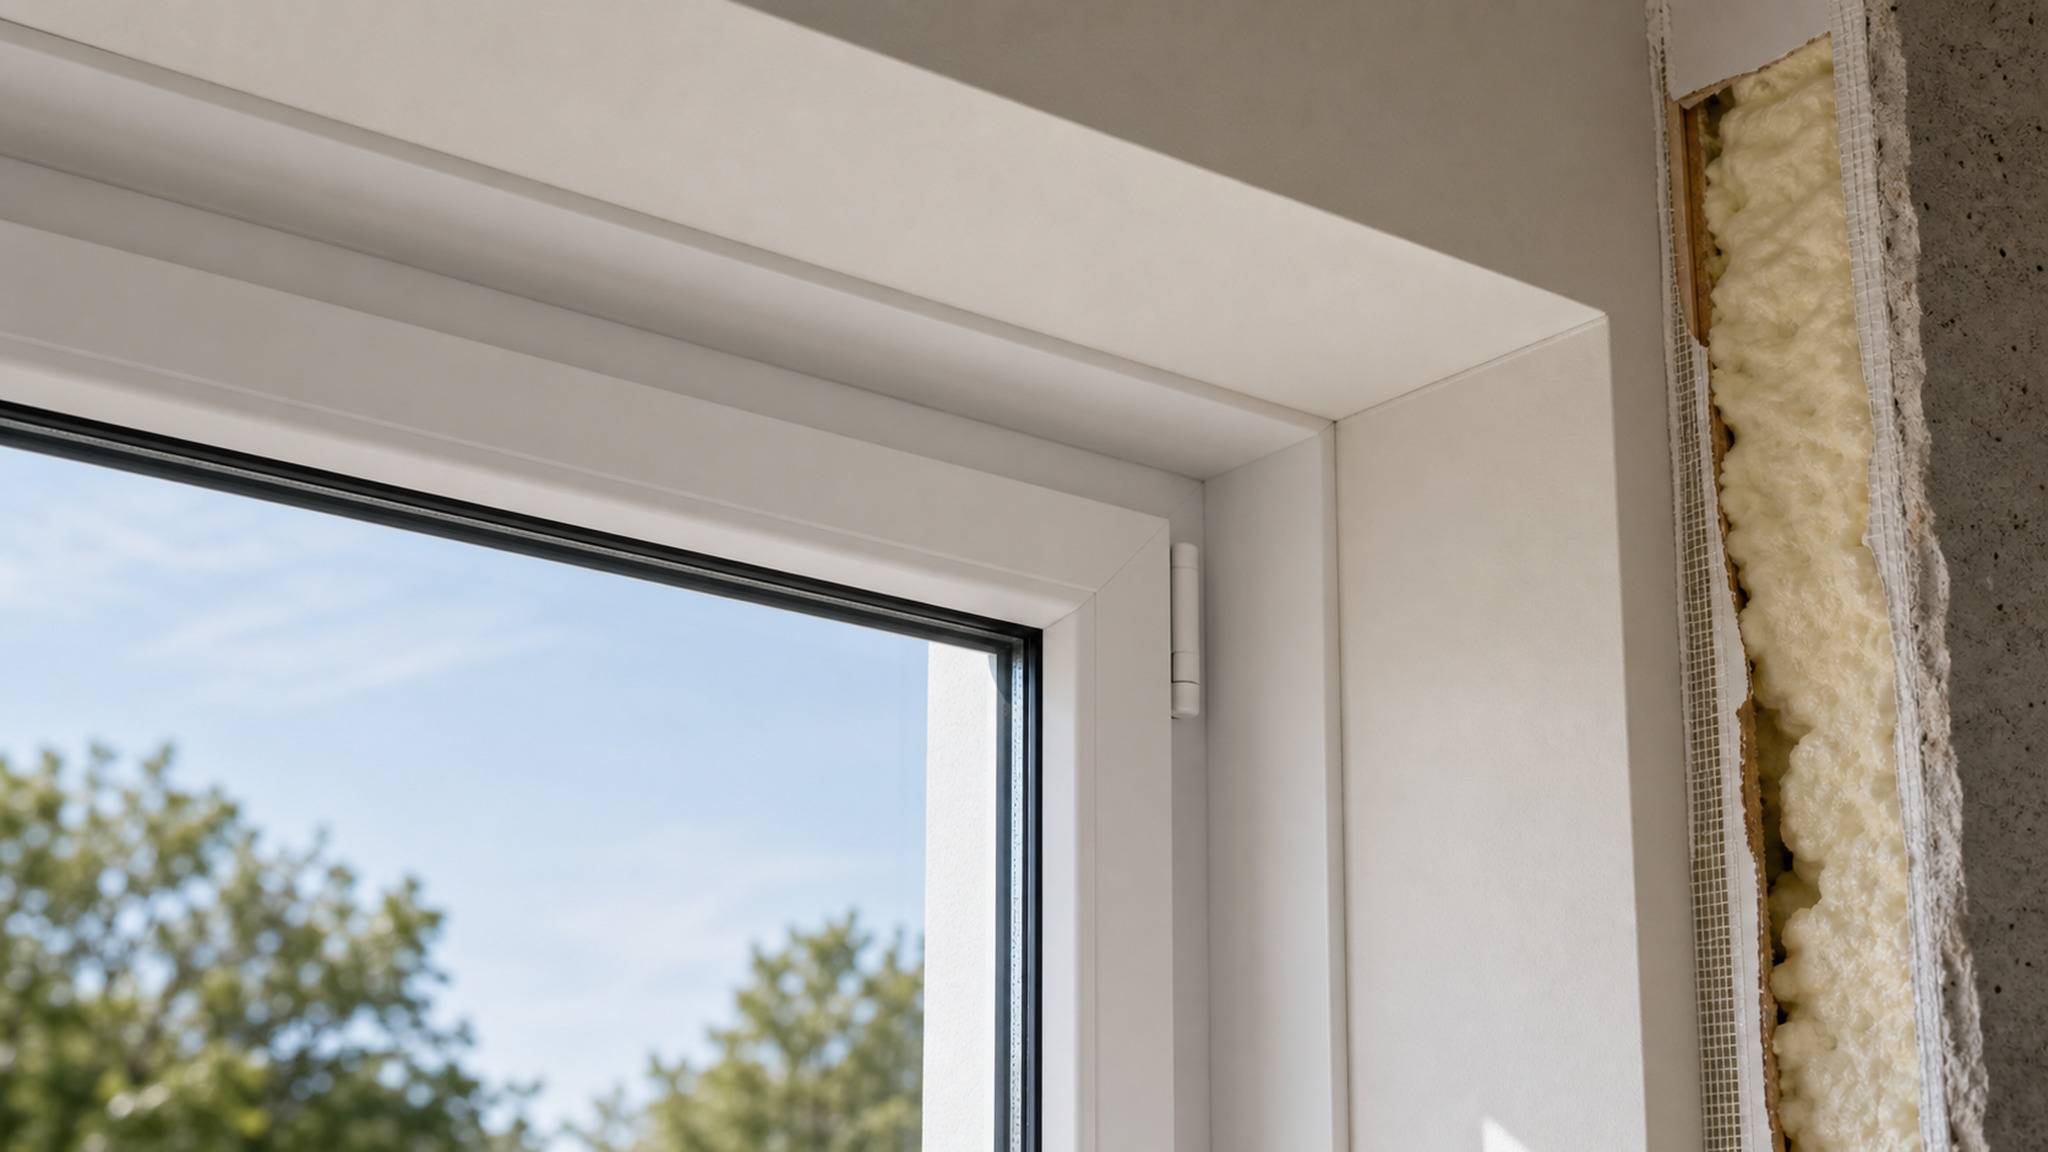
Reveals and opening insulation
Warm reveals prevent cold spots and mould.
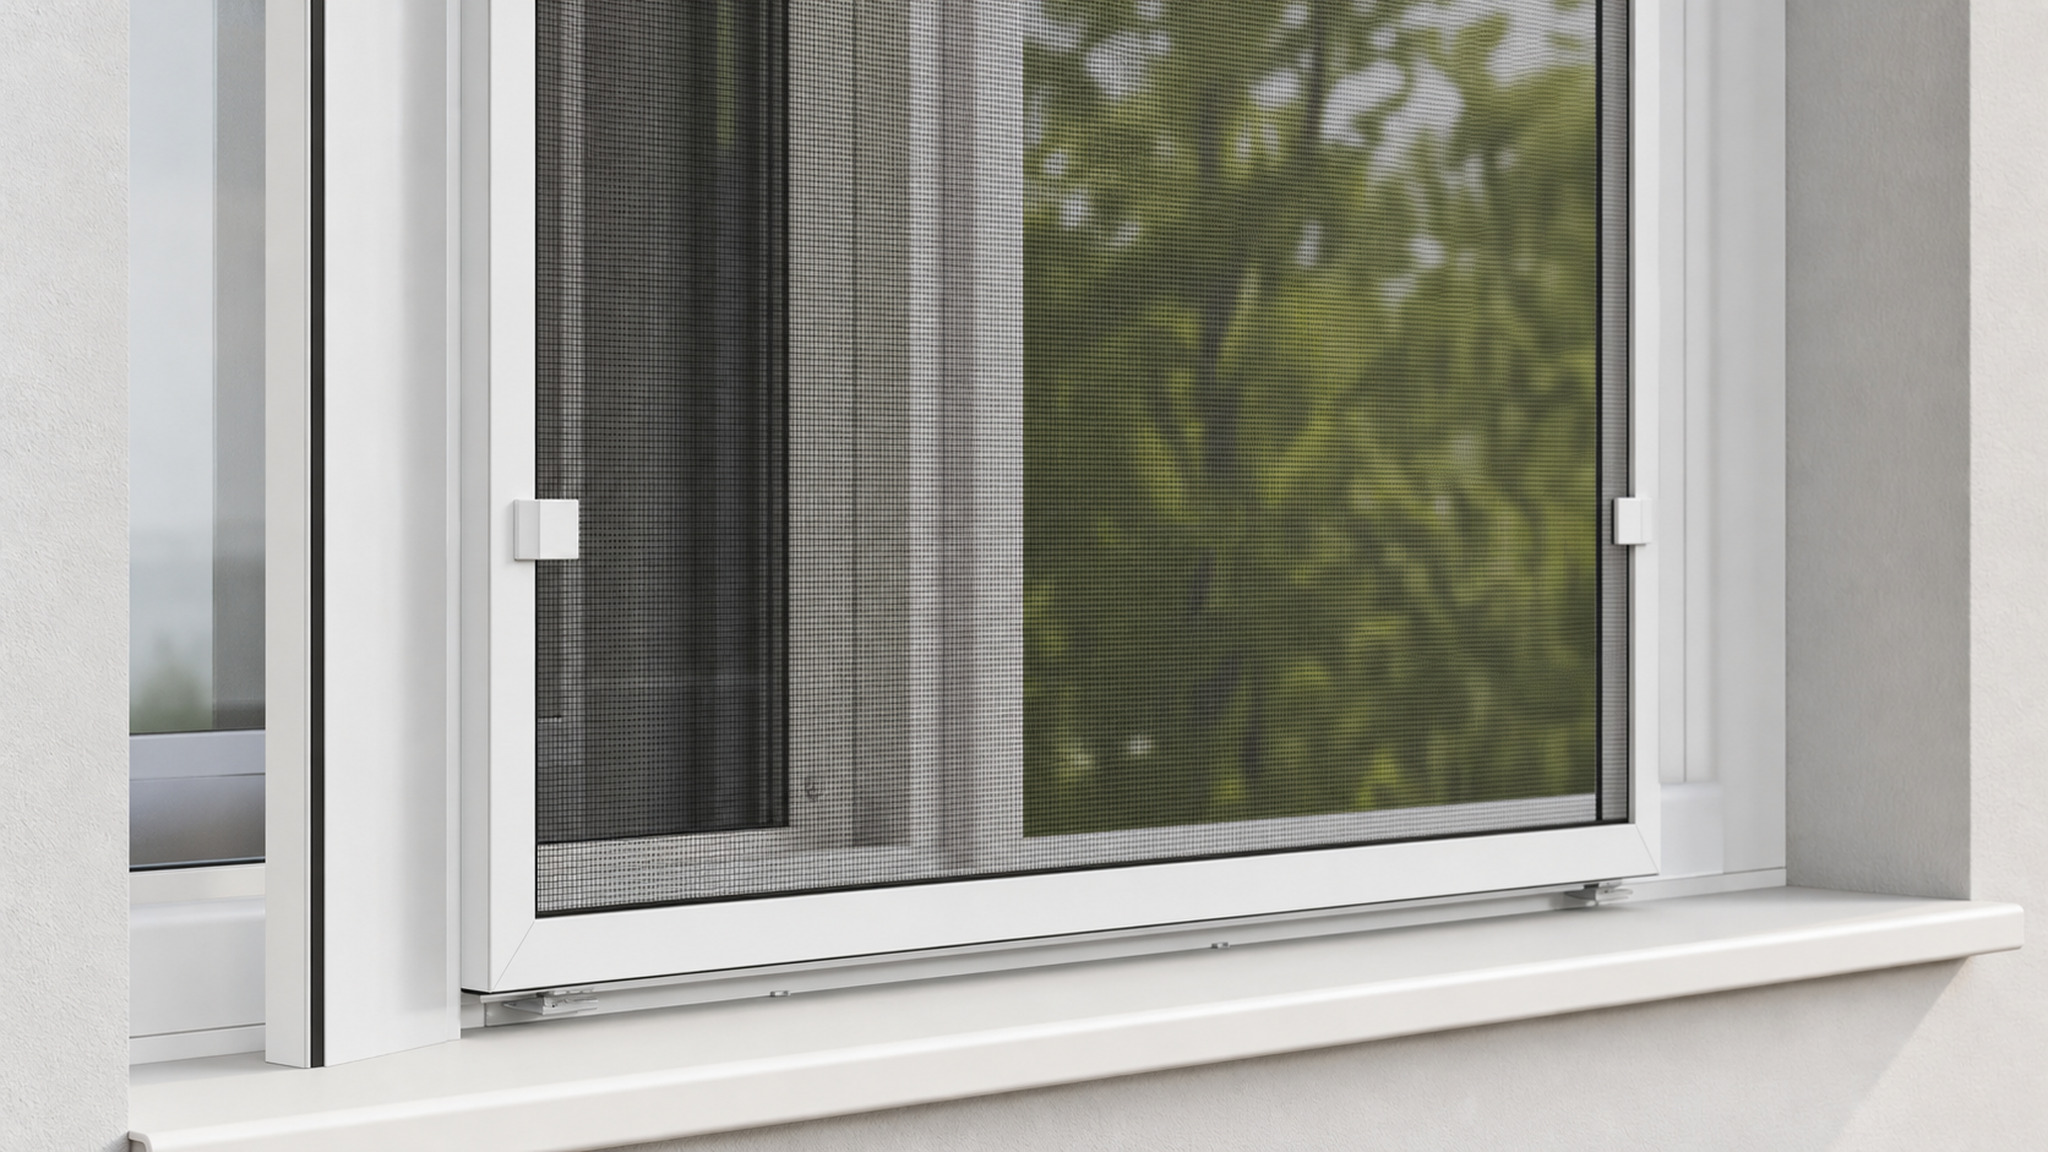
Insect screens
Comfort in warm weather without insects.
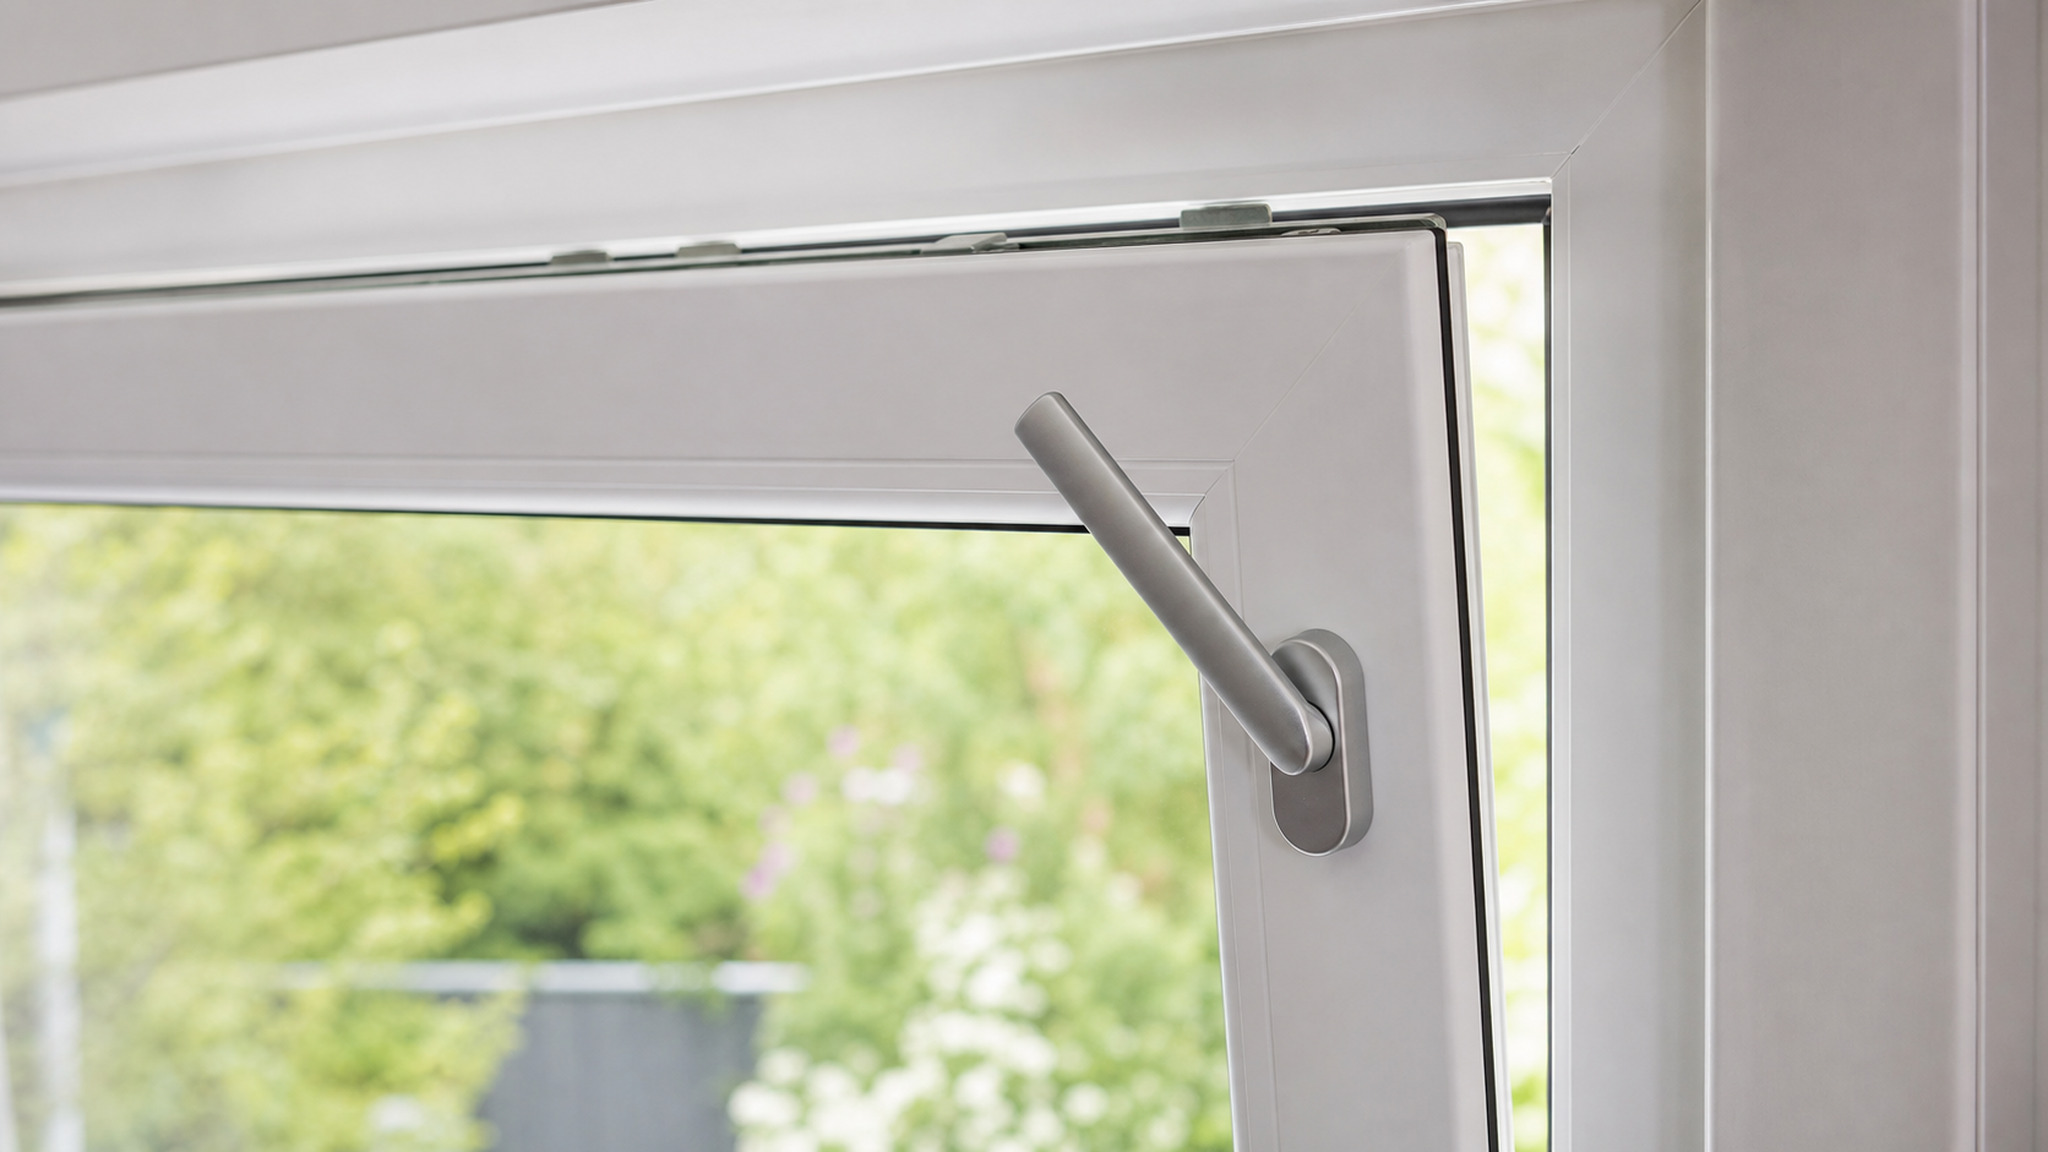
Hardware and micro-ventilation
Reliable hardware supports a healthy indoor climate.
Installation method
Installation determines the window’s service life
- 1Remove the old window
- 2Prepare the opening
- 3Position and fix the frame
- 4Level the frame
- 5Fill the installation joint
- 6Seal inside and outside
- 7Install reveals and sill
- 8Check and adjust the hardware
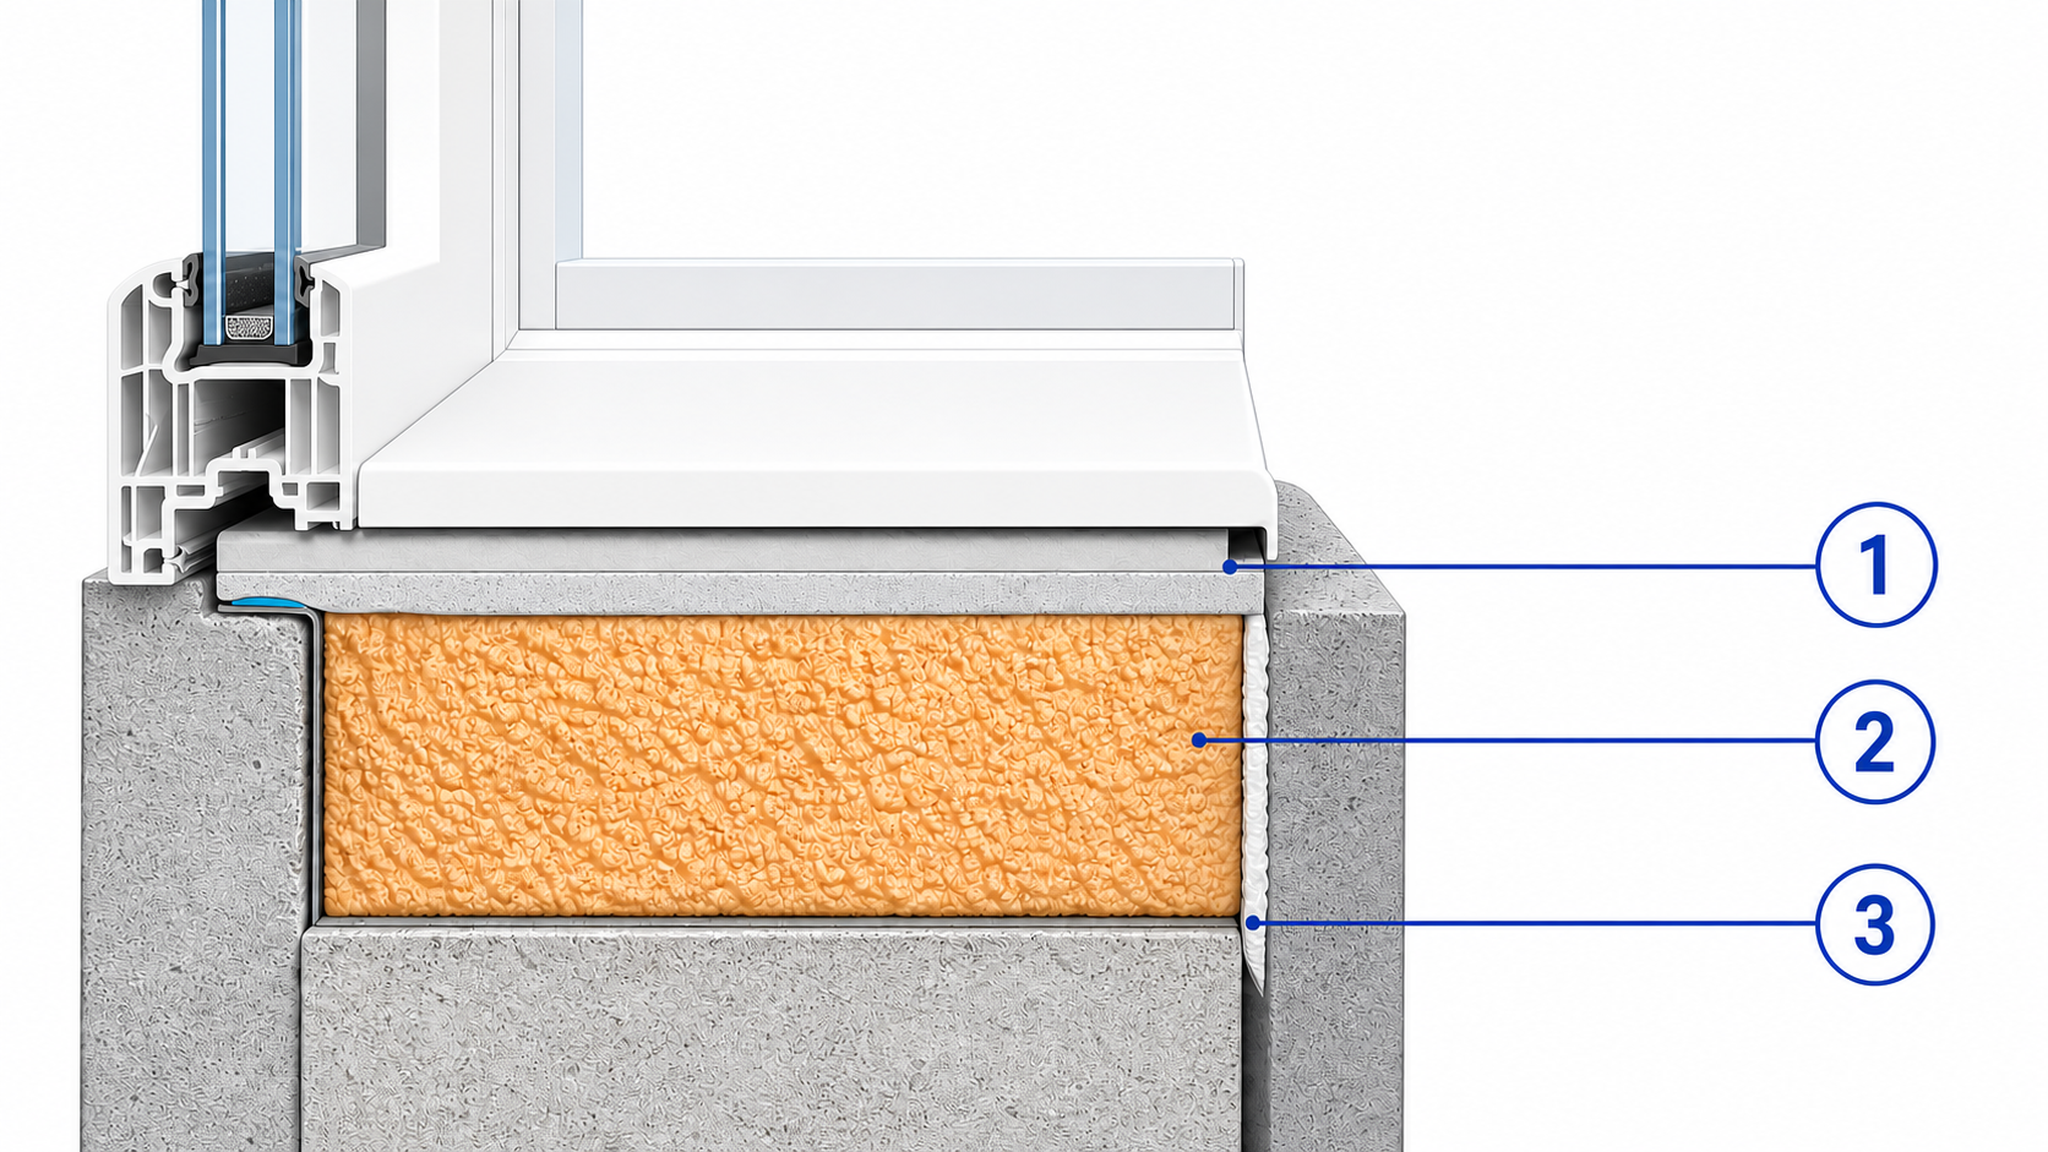
A correct installation joint
Inner layer — vapour barrier
Middle layer — thermal insulation
Outer layer — vapour-permeable waterproofing
What to check in a quotation
- Exact dimensions and window specification.
- Profile type and chamber count.
- Glazing type and thickness.
- Hardware quality and opening modes.
- Included sills, flashings and reveals.
- Product and installation warranty.
- Production and installation lead times.
Before you order windows
- 1Arrange an accurate survey.
- 2Choose the appropriate profile series.
- 3Select the glazing unit.
- 4Confirm installation and additional work.
- 5Compare quotations and warranty terms.
Frequently asked questions
The answers below give general guidance on choosing, installing, removing and using PVC windows in Latvia. The building design, applicable Latvian building regulations (LBN), relevant LVS EN / LVS EN ISO standards, the window-system manufacturer documentation and the technical data sheets of installation materials take priority.
Choosing a PVC window
Profile, glazing unit, hardware and a warm installation joint.
What are the main parts of a PVC window?
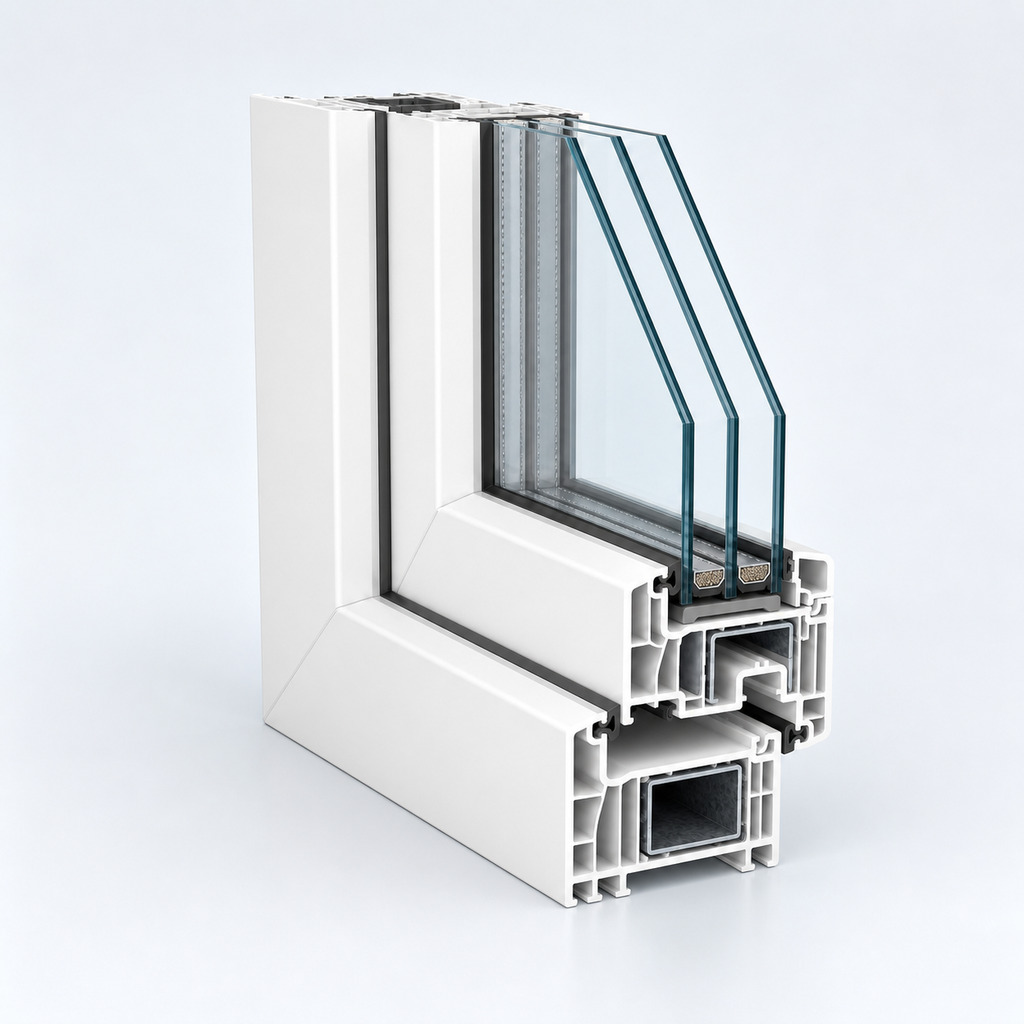
A PVC window is a system of interconnected parts.
Main parts:
Profile construction — frame, sash, mullions and other PVC profile members. Chambers and the system reinforcement sit inside the profile.
Insulating glass unit (IGU) — a sealed unit of two or more panes separated by spacer bars. Chambers may be filled with dried air or an inert gas such as argon.
Hardware — hinges, handles, locking parts, gearing and other components that open, close, lock and adjust the sash.
The window system may also include:
— glazing beads that retain the IGU;
— gaskets;
— load-bearing and spacing packers for the IGU;
— reinforcing inserts;
— a mullion;
— a sill / base profile;
— drainage and ventilation holes;
— an external sill / drip;
— an internal window board;
— internal and external reveals;
— insect screens;
— ventilation devices;
— protective and decorative parts.
The drip, window board and reveals are not part of the window unit in the narrow technical sense, but they belong to the finished window assembly.
How do you choose a profile? What matters?
The profile matters, but you should not choose a finished window only by depth, chamber count or brand.
Key parameters:
1. Whole-window Uw — lower is better. Do not confuse Uw with frame Uf or glass Ug.
2. System depth — roughly 58–90 mm or more. Deeper systems often accept thicker IGUs, but depth alone does not prove a warmer window. “70 mm is always enough for a flat” is too broad.
3. Chamber count — a design feature; more chambers do not always mean proportionally better insulation. Compare documented Uf and Uw.
4. Profile class and construction — if EN 12608-1 is claimed, ask for the exact class and system name. “Wall thickness must always be ≥ 2.5 mm” is not universal.
5. Reinforcement — type, section and thickness must match the system rules, size, IGU mass, colour and wind load. A magnet does not prove thickness or correct installation.
6. Allowed sash sizes and mass.
7. Gaskets — number of seals, material and replaceability.
8. Finished-window performance — air/water tightness, wind resistance, acoustics, solar factor, light transmittance and glazing safety.
REHAU, VEKA, KBE, Salamander and Schüco are examples of known systems, but quality depends on the series, fabricator, reinforcement, IGU, hardware and installation. Do not judge suitability from words like object, tender or enji alone — ask for the system name, specification and documents.
How do you choose an insulating glass unit?
Do not choose an IGU by chamber count alone.
A single-chamber unit has two panes and one sealed cavity. A double-chamber unit has three panes and two cavities. Laminated, toughened, acoustic, solar-control and other special glasses also exist.
Consider: Ug; thickness and type of each pane; Low-E coating; gas fill; spacer type; solar factor g; light transmittance; acoustics; safety; overheating risk; mass; and the load allowed on the sash and hardware.
A single-chamber unit is not limited to balconies and unheated rooms — suitability depends on whole-window performance and the design. Double-chamber units are often chosen for living rooms in Latvia’s climate, but the final decision rests on Uw, Ug, mass, acoustics and overheating risk.
Low-E reduces heat loss and is usually useful in heated rooms, but “mandatory” is only correct when required by performance targets. Argon usually improves insulation versus air; gas fill and calculated Ug must appear in the documents. A violet reflection is not a reliable Low-E check — use marking, the specification or a detector.
What hardware should you choose?
Hardware must match the specific window.
Roto, Siegenia and MACO are examples of known makers, but brand or country of origin alone does not prove quality.
Check: allowed sash mass and size; profile compatibility; opening type; number and layout of locking points; smooth operation; adjustability; corrosion resistance; misoperation lock; sash lifter if specified; micro-ventilation if needed; service and spare parts; care requirements; and burglary resistance class if claimed.
The handle must work smoothly without excessive force, squeaks or binding. The number of keepers alone does not prove quality. Hardware may combine steel, zinc/aluminium alloys and engineering polymers — “steel only” is wrong. Micro-ventilation is useful but does not replace proper room ventilation.
What is “warm installation” under GOST 30971-2012?
GOST 30971-2012 is a Russian document. On a Latvian site it must not be presented as the main mandatory code.
“Warm installation” is a common commercial name for an installation where the window joint performs several functions and is protected from moisture and air movement.
The joint usually has three functional layers:
Inner — an airtight layer that limits moist indoor air entering the joint.
Middle — thermal and acoustic fill, often foam or another specified material.
Outer — weather protection that still lets the construction dry outwards.
Depending on the system you may use butyl or other internal membranes, pre-compressed tape (PSUL), external vapour-open membranes, multifunctional tapes, mastics, sealants, foam and other compatible materials.
LBN 002-19 requires that in a multilayer joint the total sd value on the warm side is at least five times higher than on the cold side. Foam must not be left exposed to sun and weather.
PVC window installation
Preparation, fixings, foam and temperature.
Where does correct installation start?
Correct installation starts with survey and planning.
Establish: opening sizes at several points; wall material and condition; geometry; external rebate; insulation position; designed window position; lintel condition; finished floor level; sill and drip detail; load transfer; mechanical fixing method; joint sealing system; hidden services; room ventilation; access; and fall risks.
A simple replacement does not always need a full separate design, but the technical solution must still consider the wall, window size, climate, ventilation and manufacturer rules. Ignoring them can cause frame distortion, sash problems, draughts, leaks, condensation and finish damage.
What tools are needed for installation?
Depending on the site you may need: a tape; a level, including laser; a plumb line; a square; a hammer drill or drill; bits for the wall material; a driver; wedges; load-bearing and spacing packers; gun foam; membranes, tapes, primers, mastics or sealants; knife and scissors; spatulas; screwdrivers; hardware adjustment tools; glass suction cups; safety glasses; gloves; hearing and respiratory protection; and dust extraction.
A breaker may be needed for heavy removal or opening repair, but it is not required to install a new window.
How do you prepare the window opening?
1. Remove the old window as far as the method requires — sashes, frame, board, drip and reveals fully or partly.
2. Clean old foam, loose plaster, nails, anchors, debris and dust.
3. Check the substrate — fixing and sealing surfaces must be sound and suitable for the chosen system.
4. Repair defects — cracks, voids and broken edges; large deviations must not be filled with foam alone.
5. Measure accurately at several points; check diagonals, plumb, level and the external rebate.
6. Check for hidden services before drilling.
7. Prepare surfaces for sealing — some tapes and sealants need primer as the product manufacturer requires.
What installation gap sizes are acceptable?
There is no universal range for every PVC window.
The gap must allow correct setting-out, allow for thermal movement, suit the foam/tapes/sealants, allow reliable fixing and match the profile and installation-system documents.
20–60 mm at the sides/head and 30–60 mm at the sill may be guidance in some systems, but not automatic rules. Likewise, “always 30–70 mm smaller than the opening” is not universal.
Too small a gap prevents a proper joint; too large a gap needs repair or a designed substructure. Thick foam is not a substitute for a sound base. Design the sill detail separately: the frame must bear on packers or the system support, not hang on foam.
How do you fix the window frame correctly?
You may use frame screws, anchors, plugs, anchor plates, brackets and specialist outboard systems. Choose by wall, load, size, position in the opening, edge distance and system documents.
Typical sequence: 1) set the frame on load-bearing packers; 2) temporarily wedge without distorting the profile; 3) check plumb, level, diagonals and straightness; 4) place fixings to the manufacturer layout; 5) use packers at fixing points if required; 6) do not overtighten to distortion; 7) re-check geometry after tightening; 8) fit sashes and IGUs; 9) check operation before filling the joint.
Spacing ≤700 mm and 150–180 mm offsets from corners are guidance in some systems, not a universal rule. Six to eight fixings for a 1.3×1.4 m window may be enough in one case and wrong in another. Removing sashes/IGUs lightens the frame but is not always required; when refitting, restore the correct packer layout.
Where in the opening should the window sit?
Position depends on the wall build-up.
Homogeneous single-leaf wall: about one-third of the thickness from the outside can be a rough guide.
Wall with external insulation: the window is usually moved towards the insulation line or partly into its plane if fixing is reliable.
Multilayer wall: follow the designed detail, considering insulation, cladding, cavities and fixing.
In complex cases assess thermal bridging, internal surface temperature, condensation risk, fixing loads, drainage, sealing and reveals. “Always one-third so the 0 °C isotherm stays in the wall” does not guarantee no freezing.
How do you foam a window correctly?
1. Mechanically fix and check the frame first.
2. Clean the joint.
3. Read the foam data sheet.
4. Dampen the substrate only as the foam maker allows.
5. Respect can, air and substrate temperatures.
6. Apply continuously without overfilling.
7. Fill deep joints in layers if instructed.
8. Watch frame geometry until the foam has enough strength.
9. Trim after the maker’s stated time.
10. Cover the foam with inner and outer functional layers.
50–80% expansion is not a universal rule. Cure time depends on product, temperature, humidity and thickness. Foam does not replace mechanical fixing unless a tested system says otherwise.
At what temperature can windows be installed?
Install within the temperature range allowed for every material used: foam, sealants, membranes, adhesives, primers, repair mortars and the window itself.
Installation is not limited to dry weather above +5 °C. Winter work is possible with compatible winter products used to their data sheets.
Do not seal onto ice, frost, loose snow, dirty or weak wet substrates if the product forbids it. In heat and direct sun allow for faster sealant skinning, heating of coloured profiles and thermal expansion.
The best time is not a season name but conditions where all product rules can be met safely.
How long does installing one window take?
There is no universal time. A 2–4 hour guide can be realistic for a simple accessible opening without heavy repair or finishing.
Time grows with size and mass, upper floors, limited access, difficult removal, keeping the old window, a damaged opening, outboard fixing, multilayer sealing, drip and board fitting, reveal rebuilds, protective glazing and bad weather.
“One fitter installs 2–4 windows a day” must not be treated as required output or a quality measure. Heavy windows must not be fitted by one person just for speed.
Installation in a timber house
Settlement, casing and the compensation gap.
How is installation different in a timber house?
The main difference is possible wall movement from settlement, moisture and seasonal deformation.
In a traditional log or solid-beam house the window must not be fixed rigidly to settling logs without a designed detail. A casing (rough opening frame) may create a stable opening, take some loads, let the wall move relative to the window and protect the unit from crushing.
Tongue-and-groove is one option, not the only one. Leave a designed settlement gap above the casing and fill it with compressible material. Do not lock that gap with foam or mortar.
“Casing timber must always be ≤12% moisture” is not universal — moisture, section, joints and gap follow the house design. Timber-frame, CLT or non-settling glued-timber systems can need a very different detail.
PVC window removal
Sash, glazing unit, frame and DIY safety.
How do you remove a PVC window sash?
The sequence depends on the hardware. Identify the hinge maker or design first.
For some common tilt-and-turn sashes a general example is: 1) close or set the sash as the hardware instructions require; 2) support it from below; 3) remove the top hinge cover; 4) extract or drop the top pin as designed; 5) carefully tilt the top inwards; 6) lift off the bottom support; 7) place it on a stable soft pad.
This is only an example — some pins move differently or are not meant for full removal. Fully opening and driving out the pin can be dangerous. Follow the system instructions, support the sash and prevent it falling outwards. Heavy sashes need two people or suitable gear.
How do you remove an IGU from the frame?
1. Remove the sash or secure it firmly.
2. Protect the floor and prepare a soft support.
3. Wear gloves, eye protection and closed shoes.
4. Use glass suction cups rated for the mass.
5. Mark bead positions.
6. Ease beads out with a plastic or glazing tool.
7. Mark every load-bearing and spacing packer.
8. Support the unit and ease it out.
9. Carry it upright; do not rest the edge on bare concrete.
A metal scraper can damage the profile or glass edge. Units can be very heavy — choose crew and lifting gear by mass. When refitting, restore the correct packer layout, especially in sashes.
How do you fully remove a PVC window with its frame?
1. Clear the work area inside and out.
2. Protect against falling tools and parts.
3. Remove the sashes.
4. Remove IGUs from fixed lights if needed to reduce mass safely.
5. Strip reveals, board and drip as required.
6. Locate every frame fixing.
7. Undo frame screws/anchors or free plates.
8. Cut foam, sealants and membranes around the perimeter.
9. Lift the frame whole or cut it into sections if reuse is not needed.
10. Clean and check the opening.
A PVC frame can sometimes come out without serious damage, but reuse is only decided after checking geometry, welds, reinforcement, fixing holes, gaskets, hardware and IGUs.
Can you remove a window yourself?
It is possible with experience, tools and safe access, but consider: sash and IGU mass; glass breakage; parts falling outwards; work at an open opening; hidden fixings; wiring and other services; facade damage; and the need to weather the room temporarily.
Windows are bulky — helpers or lifting gear are often needed. Work above the first floor needs fall protection. Large IGUs, panoramic glazing and difficult access call for professionals. Removal cost depends on size, floor, access, wall material, finishes and whether the unit must be saved.
Typical installation mistakes
Common faults, consequences and quality checks.
What mistakes are most common?
— inaccurate survey;
— no wall/opening assessment;
— wrong position in the wall;
— fixing to a weak substrate;
— missing load-bearing packers;
— putting the window weight on foam;
— wrong fastener type;
— fixings spaced too far apart;
— fixings too close to a weak edge;
— overtightening and frame distortion;
— lost geometry;
— wrong IGU packer layout;
— incompatible materials;
— no continuous inner airtight layer;
— no outer joint protection;
— exposed foam;
— poor substrate prep for tapes;
— membrane corner faults;
— bad sill sealing;
— incorrect drip fitting;
— blocked drainage holes;
— incorrect window board;
— no sash check/adjustment;
— ignoring ventilation after replacing leaky old windows.
Risk rises when quotes are compared on price alone and the contract does not fix the full scope of work and materials.
What can installation mistakes cause?
Possible effects: draughts; leaks; a wet joint; unprotected foam decay; worse thermal and acoustic performance; mould; cold internal surfaces; condensation; racked sashes; hard closing; faster hardware wear; cracked reveals; frame distortion; IGU damage; local freezing; and drainage failure.
Foam alone without the designed joint protection is often wrong. Correct installation does not always have to use exactly PSUL plus one specific vapour tape — other compatible, technically justified systems exist. Without test evidence you must not claim every unprotected joint fails in 1–2 seasons or that conductivity always rises by a factor of 2–3.
How do you check installation quality after fitting?
1. Documents — specification, IGU, hardware, installation materials, warranty and care rules.
2. Frame — no visible bow, damage or racking.
3. Sashes — open, tilt and close without abnormal force or noise.
4. Handles and locks — all positions as instructed.
5. Gaps — visually even within the design.
6. Compression — a paper strip can be a rough check, not a precise measurement.
7. Joint — no exposed foam, membrane breaks or unfinished corners.
8. Sill detail — drip slopes outwards and does not block drainage; the board must not block warm-air wash.
9. No obvious draught — do not use a lit candle; use a smoke pencil, thin paper or instruments.
10. Professional checks if needed (anemometry, thermography, airtightness, water tests).
11. Record defects in the handover note before final acceptance.
No condensation right after fitting does not prove quality. Visible PSUL or an inner tape is also not enough without checking continuity of the detail.
Ventilation and care
Air exchange and window maintenance.
Is extra ventilation needed after fitting PVC windows?
You do not always need a separate device just because of PVC windows, but after replacing leaky old windows you must check room ventilation.
Modern windows cut uncontrolled trickle air, so organised air exchange is needed: regular opening, micro-ventilation, window inlets, wall valves, mechanical extract, supply-extract systems or heat recovery.
Choice depends on area, occupancy, existing ducts, outdoor noise and pollution, moisture load and energy goals. LBN 231-15 covers natural airing through openable sashes or other devices and building ventilation design. Micro-ventilation is not automatically enough. AEROPAC and AEROVITAL are examples, not mandatory for every project.
How do you care for a PVC window?
1. Clean profile and glass regularly with mild non-abrasive cleaners.
2. Check and clear drainage holes.
3. Inspect gaskets; replace when elasticity is lost, cracked, torn or sealing fails. There is no fixed mandatory 10–15 year replacement rule.
4. Service hardware to the maker’s instructions — yearly checks are a sensible guide for heavily used sashes.
5. Adjust sashes as needed; leave heavy ones to a specialist.
6. Do not overload the sash — no hanging loads or using it as a prop.
7. Do not block drainage or ventilation holes.
8. Watch indoor humidity and ventilation.
9. Do not switch “winter/summer” modes unless the system supports that adjustment; excessive compression wears seals and hardware faster.
Warranty and timelines
Warranty scope and the risks of cheap options.
What warranty should a PVC window have?
Separate statutory consumer rights from a voluntary commercial warranty.
PTAC notes the right to claim non-conformity within two years of delivery or purchase, and within two months of discovering the defect. A commercial warranty is an extra written promise and must not limit statutory rights.
Before ordering check: who is the seller and installer; what is goods vs service; commercial warranty term and conditions; separate terms for profile, IGU, hardware and installation; exclusions; claims process; response times; servicing duties; who pays for access, removal and re-finishing; whether the joint seal is covered; the handover record; exact specification; CE and declaration of performance when required; and the care instructions.
A profile-only certificate does not prove finished-window performance. Lead times cannot be fixed universally as 2–7 days — they depend on colour, size, IGU, hardware and factory load and must be in the contract.
Is it worth saving money on windows?
Compare not only the bottom price but the same scope of supply.
Check whether the quote includes: the exact profile system; reinforcement; IGU; Low-E; gas; spacer type; safety glass; hardware; ventilation parts; removal; disposal; fixings; sealing; drip; window board; reveals; lifting; room protection; adjustment; and warranty service.
Do not claim the gap is always exactly 20% or that a cheap quote will always cost “many times more”. A low price may mean a simpler kit; a high price alone does not prove quality.
A rational choice compares documented performance, full scope, contract, warranty and the reputation of fabricator and installer. Properly specified, made, fitted and maintained PVC windows can last many years, but no universal service life can be promised for every construction.
Professional survey
Need an accurate window quote for your apartment?
Our specialist will survey the openings, help choose the right solution and prepare a quotation.
Get a consultation- Professional survey tailored to the building
- An individual quote for your budget and needs
- Installation and warranty service